 ultimate-guide
7 Dustless Hardwood Floor Sanding Benefits That Protect Your Home
Last Updated: October 26, 2026
Quick Summary
Dustless hardwood floor sanding benefits come from connecting the sander to a high-capacity vacuum and containment system that captures most dust at the source, giving you a dramatically cleaner job site and better indoor air during the work. It is dust reduction, not elimination, so fine particles can still escape during edge work, setup, and bag changes. Finish quality still depends on correct grit sequence and proper prep, not the dust equipment.
- Containment setup typically adds 30 to 60 minutes to the job before sanding begins.
- Edge sanders are the weakest point because their dust ports are smaller and hoses can kink.
- Most residential hardwood floor sanding takes two to four days from first pass to final coat.
- Replace your furnace filter before work begins and again after the job is done.
- A guarantee of zero dust is a red flag, since no system eliminates dust entirely.
Table of Contents
- What Dustless Hardwood Floor Sanding Benefits Actually Mean for Your Home
- The Dustless Floor Sanding Process, Step by Step
- Dustless Sanding vs Traditional Sanding: What Changes in Your Home
- Health Benefits for Allergy and Asthma Sufferers
- How Long Does Hardwood Floor Sanding Take?
- Hardwood Floor Sanding Preparation: A Room-by-Room Checklist
- How to Evaluate a Contractor's Dust-Containment Setup
- Request an Estimate for Your Floor Refinishing
- Frequently Asked Questions
What Dustless Hardwood Floor Sanding Benefits Actually Mean for Your Home
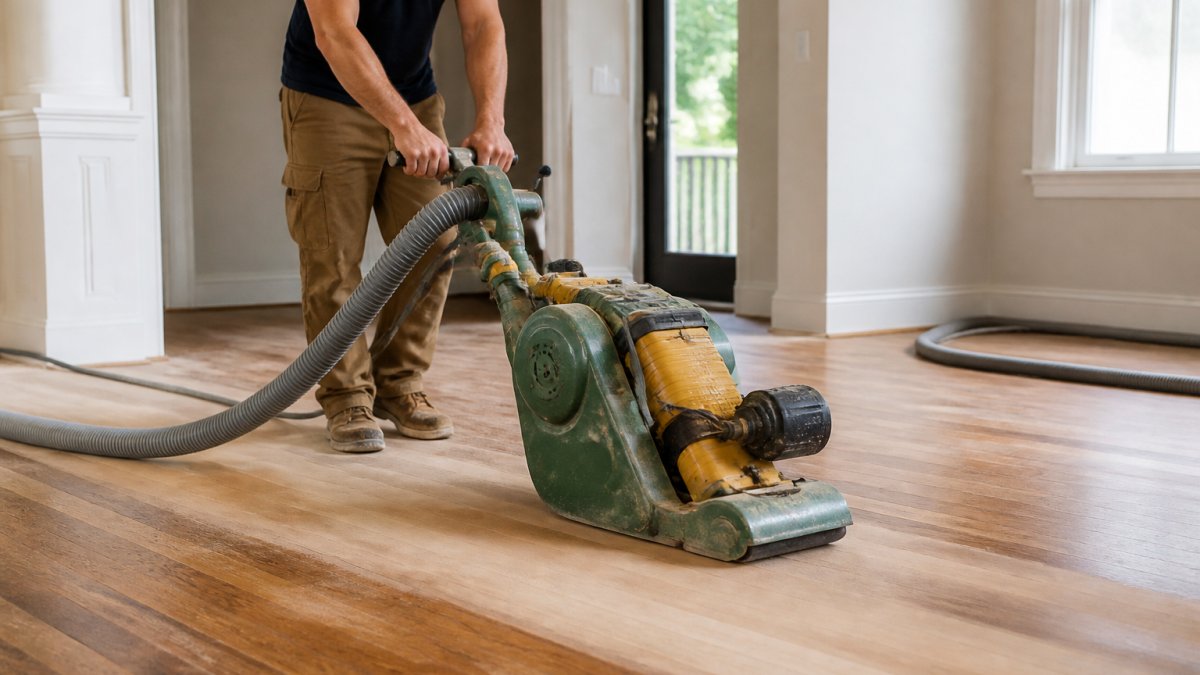
Dustless hardwood floor sanding benefits start with a correction: "dustless" does not mean zero dust. It means the sander connects to a high-capacity vacuum and containment system that captures most dust at the source.
That distinction matters: a refinishing project that skips containment coats your furniture, vents, furnace filter, and cabinet interiors with wood flour that keeps reappearing for weeks.
The Dustless Floor Sanding Process, Step by Step
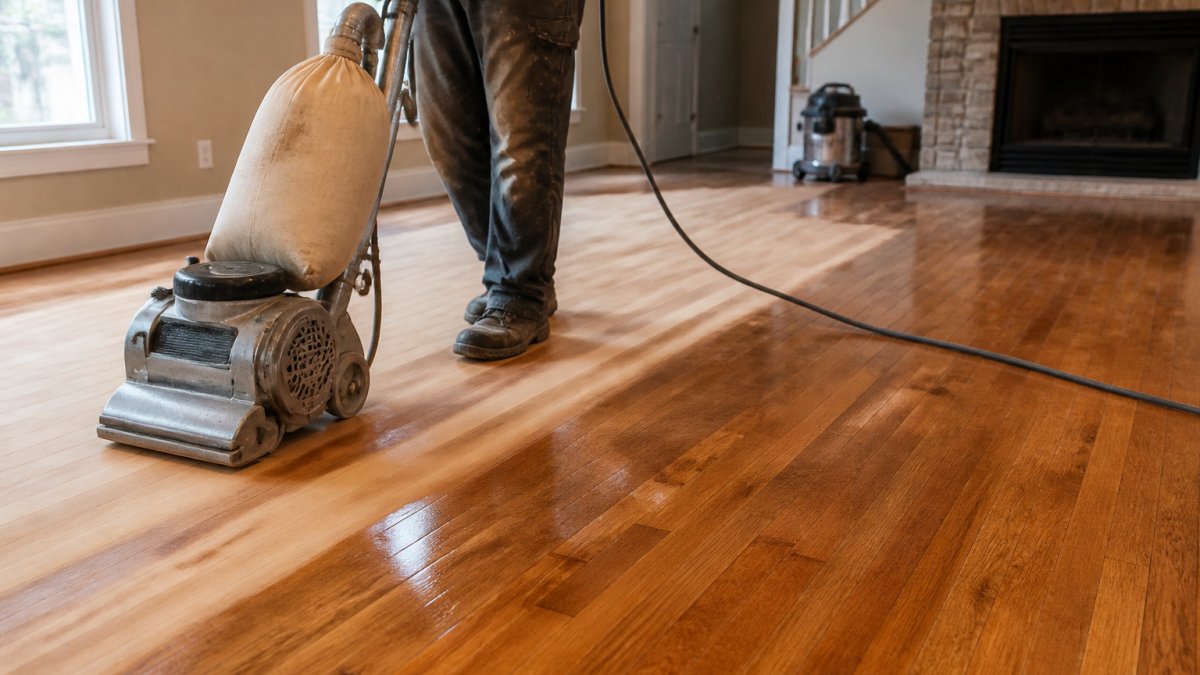
A dustless floor sanding process follows the same sequence as conventional refinishing, but containment is built into every stage. The machine does the cutting; the vacuum, sealed work area, and operator's habits do the protecting.
- Inspection and preparation. The crew checks board condition, identifies high boards and low spots, sets nails below the surface so they don't tear the abrasive, re-secures loose boards, and notes gaps. The contractor also confirms which rooms connect to the work zone and whether floor transitions need special handling.
- Containment setup. Doorways are sealed with plastic and tape, return-air vents are covered, and the vacuum hose is connected to the sander. A negative-air machine or second vacuum may keep air moving toward the collection unit. This stage typically adds 30 to 60 minutes.
- Coarse sanding. The first pass removes the old finish and levels the surface. This is the dustiest stage, so the vacuum runs continuously and the collection bag is checked before the pass begins. A full bag or clogged filter is the most common cause of visible dust here.
- Progressive sanding. Successively finer abrasives remove the scratches left by the previous grit and smooth the grain. Dust volume drops with each pass, but fine particles become harder to capture, so filter condition matters more than bag capacity.
- Edges and corners. A dedicated edge sander with its own vacuum connection handles the perimeter the drum cannot reach. This is where most residual dust escapes, because edge sanders have smaller dust ports and hoses can kink or disconnect. Ask how the contractor manages edge work, it is the single best indicator of real-world containment.
- Buffing and screening. A final light pass prepares the surface for stain and finish. Screening generates fine dust that is easy to miss; skipping vacuuming before staining traps particles in the finish.
- Cleaning and finishing. The crew vacuums the floor and surrounding surfaces, then applies stain and finish. Post-sanding cleaning is part of the process, not an afterthought, horizontal surfaces, vents, and nearby furniture should be wiped before the first coat.
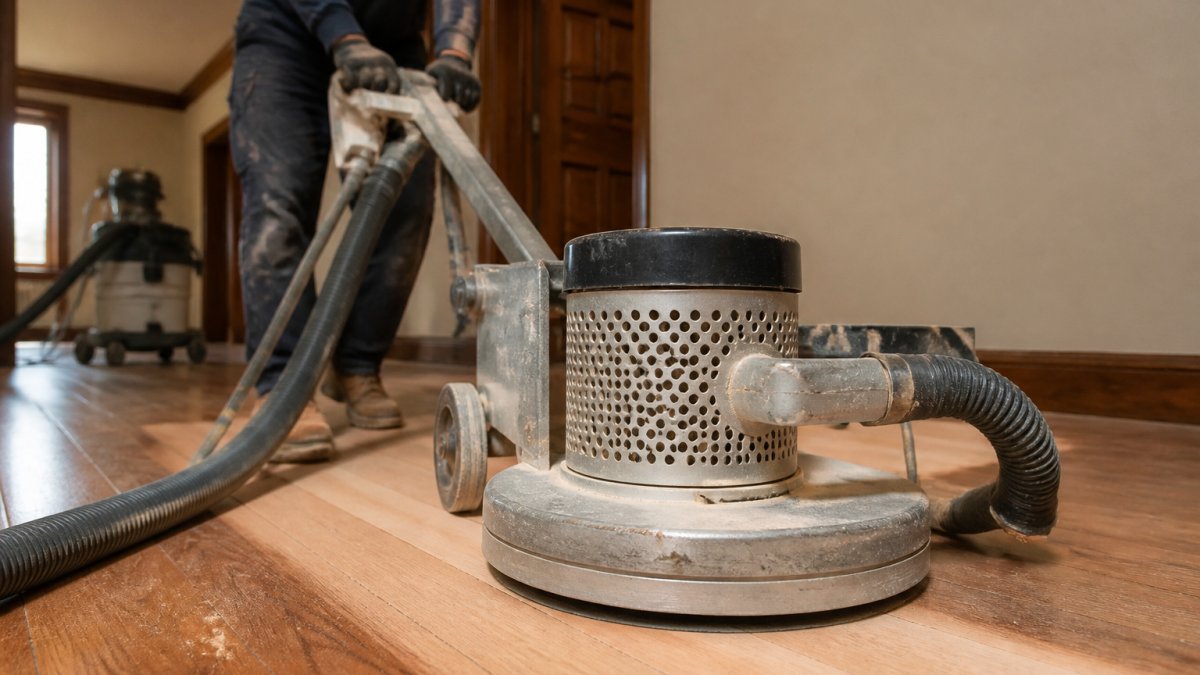
How Vacuum Extraction Captures Dust at the Source
Vacuum extraction captures dust particles the moment the abrasive cuts the wood, rather than letting them drift into the room.
The result is dust reduction, not elimination. Fine particles can still escape during setup, edge work in tight corners, and bag changes. A contractor who claims a completely dust-free job is overselling. Ask instead how the system is configured and what happens at transitions.
Where Residual Dust Still Comes From
Even a well-run dustless job produces some residual dust. Knowing the sources helps you judge whether a contractor is being honest:
- Edge and corner work. Smaller sanders have smaller dust ports, and hoses can kink or disconnect in tight spaces.
- Bag and filter changes. Opening the collection unit releases a puff of fine dust; changing bags outside or under negative air reduces the impact.
- Setup and teardown. Sealing doorways and moving equipment stirs up dust that settled before the job started.
A realistic contractor will name these sources before you ask. That honesty is worth more than a promise of zero dust.
Dustless Sanding vs Traditional Sanding: What Changes in Your Home
The real difference between dustless and traditional sanding is where the dust ends up. Traditional drum sanders blow wood dust into the room, where it settles on floors, furniture, light fixtures, and inside HVAC returns.
| Factor | Traditional Sanding | Dust-Contained Sanding |
|---|---|---|
| Airborne dust | Heavy, spreads through home | Minimal, captured at source |
| Furniture protection | Extensive covering needed | Reduced covering, still advised |
| Cleanup time | Days of repeated wiping | Concentrated final cleanup |
| HVAC risk | Filters and ducts can load up | Vents sealed during work |
| Finish quality | Same if prep is done well | Same if prep is done well |
Here's the part most guides get wrong: dustless equipment does not sand better. Finish quality comes from correct grit sequence, proper surface leveling, and adequate drying time between coats.
Health Benefits for Allergy and Asthma Sufferers
For households with respiratory conditions, the health benefits of dust containment are the deciding factor. Airborne wood dust is a known irritant, and fine particles can linger long after the machines leave.
The Canadian Centre for Occupational Health and Safety guidance on wood dust treats wood dust as a respiratory hazard in occupational settings, which is why containment matters on a residential job too.
How Long Does Hardwood Floor Sanding Take?
Most residential hardwood floor sanding takes two to four days from first pass to final coat, depending on square footage, floor condition, and finish drying times. A single average room can finish faster; a whole main floor with multiple rooms, tight corners, and water damage takes longer.
The breakdown usually looks like this:
- Day one: setup, containment, coarse sanding
- Day two: progressive sanding, edges, buffing
- Day three: staining and first finish coat
Dust containment adds setup time at the front and saves cleanup time at the back; in practice, the two roughly cancel out. What changes is the experience inside your home while the work happens.
Hardwood Floor Sanding Preparation: A Room-by-Room Checklist
Preparation is where homeowners have the most control. Use this checklist before the crew arrives.
Living areas and bedrooms
- Remove all furniture, rugs, and floor plants
- Take down wall art and curtains near the work area
- Clear closets that open onto the floor
Kitchen
- Empty lower cabinets of items you use daily
- Move the refrigerator if the floor runs beneath it
- Seal off the room from the work zone
Hallways and stairs
- Remove runner rugs and stair treads
- Confirm a clear path for the crew and equipment
Mechanical and utility
- Replace the furnace filter before work begins
- Cover return-air vents in the work zone
- Confirm the thermostat won't trigger circulation during sanding
After the job
- Wipe horizontal surfaces top to bottom
- Vacuum, then damp-mop hard surfaces
- Replace the furnace filter again
How to Evaluate a Contractor's Dust-Containment Setup
Ask specific questions and expect specific answers. A contractor with a real containment setup will describe equipment, sealing methods, and limitations without hesitation; one who waves the word "dustless" around without detail is telling you something. Below is what good answers sound like, how to verify claims, and which red flags should make you pause.
Questions to Ask, and What Good Answers Sound Like
- Equipment: "Is the sander connected to a high-efficiency collection unit, or just a shop vacuum?" A good answer names the unit type, describes the filter, and explains how often it is serviced. A vague answer ("we have a really good vacuum") is a warning.
- Sealing: "Are doorways and vents sealed with plastic and tape, or left open?" A good answer describes a specific sealing plan for your layout, including return-air vents and open stairwells.
- Edge work: "Does the edge sander have its own vacuum connection?" A good answer acknowledges edge work is the weakest point and explains how the crew manages it, smaller hose, shorter runs, or a second vacuum.
How to Verify the Setup
You do not need to be an equipment expert to check a contractor's claims. A few simple steps go a long way:
- Ask to see the collection unit. A legitimate contractor will show you the vacuum, hose, and filter. Look for a sealed bag or bin, not an open container.
- Ask when the filter was last changed. A clogged filter is the most common cause of visible dust during sanding.
- Ask for a walkthrough of the sealing plan. A good contractor will point to doorways, vents, and transitions and explain how each will be handled.
Red Flags to Watch For
- A guarantee of zero dust. No system eliminates dust entirely; a promise that ignores that reality usually signals shortcuts elsewhere.
- No mention of edge work. If a contractor only talks about the main sander, ask about edges and corners, the most common escape point.
- A shop vacuum as the only collection unit. Shop vacuums capture coarse dust but are not designed for fine wood flour; a high-efficiency unit is the standard.
Request an Estimate for Your Floor Refinishing
Restoring a worn floor is a decision about your home's air and its character at once.
North American Hardwood has spent 38 years refining exactly this work: hardwood refinishing, installation, and repair, with vacuum-assisted sanding to control dust and direct access to Rick on every project. We restore existing floors rather than pushing replacement, and we repair damaged boards so they blend with the surrounding wood.
Frequently Asked Questions
Is dustless hardwood floor sanding completely dust-free?
No. Dustless sanding reduces dust significantly but does not eliminate it entirely. Industry sources describe it as dust-contained sanding that minimizes dust, or as producing significantly less dust than traditional methods. Expect some fine residue on surfaces and in the air, especially in corners and along edges where equipment cannot reach perfectly. A thorough contractor will still seal doorways and use negative air pressure to keep the rest of your home clean.
How much dust should I expect during hardwood floor refinishing?
With a proper dust collection system and vacuum extraction, most airborne dust is captured at the source. You may still notice a light film on nearby surfaces after the job, which wipes away easily. Traditional sanding without containment spreads fine dust through the entire home, often settling on shelves, curtains, and inside cabinets for weeks. The difference comes down to the equipment and how carefully the work area is sealed.
Does dustless sanding affect the quality of the floor finish?
A cleaner surface means fewer dust particles settling into stain and finish as they cure. Dust trapped in a fresh coat creates grit and uneven texture. When the wood grain is exposed cleanly between stages, it supports better stain absorption and a smoother final surface. The sanding stages themselves are the same as traditional methods, so finish quality depends on technique and preparation, not just dust control.
Do I need to move furniture before dustless floor sanding?
Yes. All furniture, rugs, and wall hangings should be removed from the work area before sanding begins. Clear closets and cabinets near the floor too, since fine dust can drift into open spaces. Most contractors ask you to empty the rooms entirely and provide access to power and parking for equipment. Ask your contractor in advance whether they move heavy items or whether that is your responsibility, and confirm how long each room will be out of use.