 ultimate-guide
Professional Hardwood Installation Guide 2026
Table of Contents
- Hardwood Installation Methods: Choosing the Right Approach
- Solid vs. Engineered Hardwood: Which Suits Your Home?
- Tools Needed to Install Hardwood Flooring
- Hardwood Floor Installation Preparation
- Hardwood Floor Installation Timeline
- Hardwood Installation Checklist
- Choosing a Professional Installer: What to Ask
- Frequently Asked Questions
Last Updated: October 21, 2026
Hardwood Installation Methods: Choosing the Right Approach
Hardwood installation is the process of permanently fixing solid or engineered wood boards to a prepared subfloor using nails, adhesive, or a floating interlocking system. This guide from North American Hardwood walks through every decision a homeowner faces in 2026, from method selection to vetting the crew that does the work.
The method you choose drives everything else: tool list, timeline, subfloor requirements, and how easily a board can be replaced later. Get it wrong and you inherit squeaks, gaps, or a warranty claim that goes nowhere.
Three methods cover almost every residential job. Each has a narrow set of conditions where it wins.
Nail-Down and Staple-Down Installation
Nail-down and staple-down installation fastens solid or engineered boards through the tongue into a wood subfloor using a flooring stapler or cleat nailer. It is the default for solid hardwood over plywood and the method most manufacturers specify for 19 mm solid stock.
The sequence is mechanical and unforgiving. Installers set a chalk line, lay the starter row with a consistent expansion gap at the wall, then blind-nail through the tongue at the angle the manufacturer specifies. A tapping block closes each course without damaging the groove.
A common mistake is rushing the starter row. Every subsequent course inherits its error, and a crooked first row shows up as a widening gap at the far wall.
Glue-Down Installation
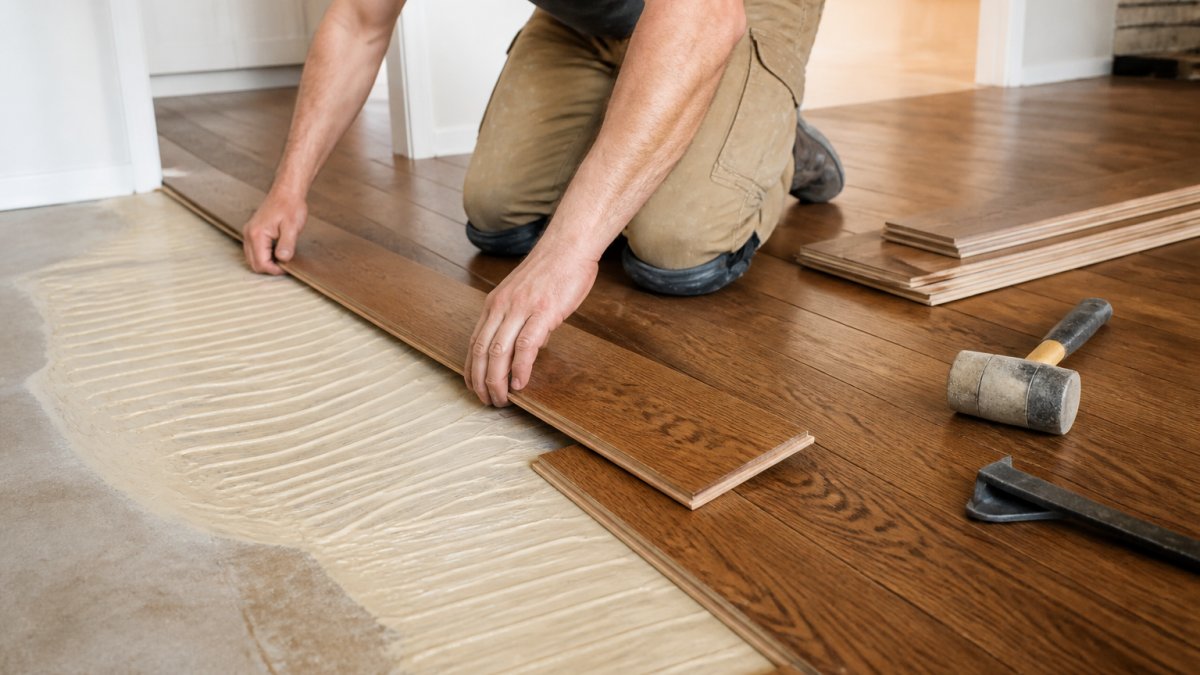
Glue-down installation bonds boards directly to the subfloor with a trowel-applied flooring adhesive. It suits engineered hardwood over concrete, where nailing is impossible and floating feels hollow underfoot.
Adhesive choice matters more than most guides admit. The trowel notch size, open time, and moisture tolerance must match both the adhesive and the board. Spread too much adhesive and it skins over before the board lands; spread too little and you get voids that turn into hollow spots and failed bonds.
Concrete subfloors need moisture testing first, and many adhesive manufacturers publish a maximum allowable moisture content that voids the warranty if exceeded. Read the adhesive data sheet before the first bucket is opened.
Floating and Click-Lock Installation
Floating floor installation locks boards together at the edges and rests the whole assembly on an underlayment, with no fastening to the subfloor. Click-lock flooring is the fastest of the three methods and the most forgiving for a homeowner working alone.
The trade-off is movement. A floating floor expands and contracts as one sheet, so expansion gaps at every perimeter and doorway transition must be generous. Pinch the floor against a wall and it will buckle in the middle of the room within a heating season.
Floating is a poor fit for solid hardwood. It is a good fit for engineered planks in basements and over radiant heat, provided the manufacturer approves both.
| Method | Best Subfloor | Best Board Type | Relative Speed | Reversible |
|---|---|---|---|---|
| Nail-down / staple-down | Plywood | Solid hardwood | Moderate | Difficult |
| Glue-down | Concrete or plywood | Engineered hardwood | Slow | Difficult |
| Floating / click-lock | Most level substrates | Engineered hardwood | Fast | Easier |
Solid vs. Engineered Hardwood: Which Suits Your Home?
Solid hardwood is a single piece of milled timber, typically 19 mm thick, that can be sanded and refinished many times over its life.
The honest answer is that solid wins on longevity and engineered wins on stability. Solid hardwood belongs on plywood subfloors in rooms with controlled relative humidity. Engineered hardwood tolerates concrete, basements, and wider swings in relative humidity because the cross-laminated core resists expansion.
What most guides miss is the wear layer. An engineered board with a 2 mm wear layer can be refinished once or twice at most. A 4 mm or 6 mm wear layer behaves much more like solid.
For homes where winter indoor air dries out fast, engineered boards generally handle the seasonal swing with fewer callbacks. Solid remains the better long-term investment where humidity stays stable.
Tools Needed to Install Hardwood Flooring
The tools needed to install hardwood flooring split into three groups: measuring and layout, cutting, and fastening. Missing any one of them stalls the job mid-course, usually on a weekend when the rental yard is closed.
Measuring and layout:
- Tape measure and pencil
- Chalk line for the starter row
- Spacers for consistent expansion gaps
- A long straightedge or level to check subfloor flatness
Cutting:
- Circular saw for crosscuts and rips
- Jigsaw for door casings and irregular cuts
- Tapping block and pull bar for closing joints
- A decent blade, because dull blades splinter the wear layer
Fastening:
- Flooring stapler or cleat nailer for nail-down work
- Trowel with the correct notch for glue-down adhesive
- Moisture meter and hygrometer for testing before installation
Safety gear is not optional: knee pads, eye protection, and hearing protection for the nailer. A dust extractor on the saw keeps airborne dust down, which matters in an occupied home.
Hardwood Floor Installation Preparation
Hardwood floor installation preparation decides whether the finished floor stays flat for twenty years or starts moving in the first winter. Preparation covers three things: the room, the subfloor, and the moisture reading.
Room preparation comes first. Remove furniture, pull baseboards and quarter-round molding, and take off doors where the swing will change.
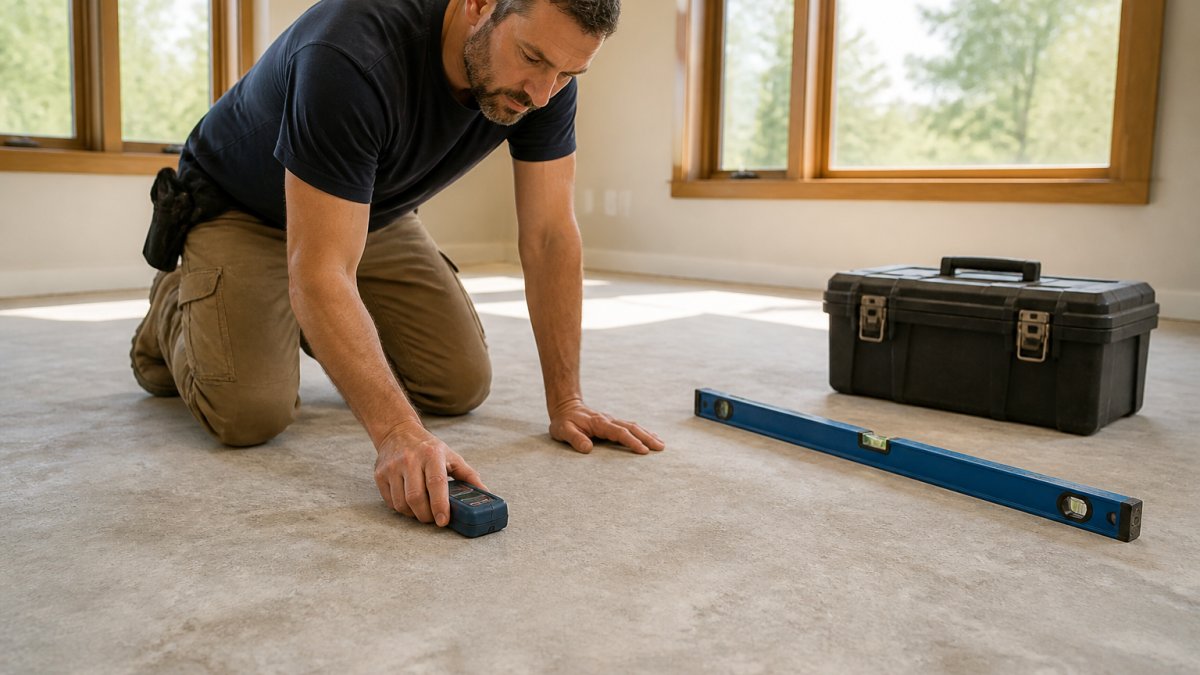
Subfloor flatness is checked with a long straightedge, and high spots get ground down while low spots get filled. A plywood subfloor gets re-fastened to kill squeaks before any board goes down.
Subfloor Inspection and Moisture Testing
Moisture testing is the step that protects the warranty. Test the subfloor, not the air, and record the readings with the date and the meter used. Compare results against the flooring manufacturer's published limit and the adhesive or underlayment specification.
For concrete, a calcium chloride test or an in-situ relative humidity probe gives a defensible number. For wood subfloors, a pin or pinless moisture meter compared against the flooring's own reading tells you whether the two are close enough to install.
A vapor retarder or moisture barrier goes down over concrete before glue-down or floating installation. The barrier's permeance rating must meet the flooring manufacturer's requirement, and laps get taped.
Hardwood Floor Installation Timeline
A typical residential hardwood floor installation timeline runs three to five days for an average room, and longer for whole-home work. The schedule depends on method, square footage, acclimation time, and how much subfloor repair is needed.
Here is how the days usually break down:
- Day 1: Room cleared, old flooring removed, subfloor inspected and repaired.
- Day 2: Moisture testing, barrier or underlayment installed, layout lines struck.
- Days 3 to 4: Boards installed, cut around doorways, transitions fitted.
- Day 5: Trim, baseboards, and quarter-round molding reinstalled; floor cleaned and inspected.
Acclimation adds time before day one and cannot be compressed. Household disruption is real: furniture is out, one or more rooms are unusable, and foot traffic is restricted until the adhesive cures or the last course is nailed. Plan for the disruption rather than discovering it.
Hardwood Installation Checklist
Use this hardwood installation checklist to sequence the job and to audit a contractor's plan before work starts.
- Confirm board type, wear layer thickness, and manufacturer installation guidelines
- Complete acclimation in the installation room for the specified period
- Remove furniture, baseboards, and doors; protect adjacent surfaces
- Inspect subfloor for flatness, squeaks, and damage; repair as needed
- Perform moisture testing on the subfloor and record results
- Install vapor retarder or underlayment to specification
- Verify expansion gap at every wall, column, and doorway
- Stagger joints and maintain the specified spacing between courses
- Fit doorway transitions and trim
- Reinstall baseboards and quarter-round molding
- Clean, inspect, and document the finished floor
That list doubles as a quote-comparison tool. Ask each installer to walk through it and note where their plan diverges.
Choosing a Professional Installer: What to Ask
Choosing a professional installer comes down to five questions, and the answers separate a craftsman from a crew that reads the box on the way in.
- Who actually does the work? Ask whether the owner or a named lead installer will be on site, or whether the job goes to a rotating crew.
- What is your moisture-testing protocol? A serious installer names the meter, the test method, and the limit they work to.
- How do you handle manufacturer-specific requirements? Warranty coverage depends on following the board maker's installation guidelines to the letter.
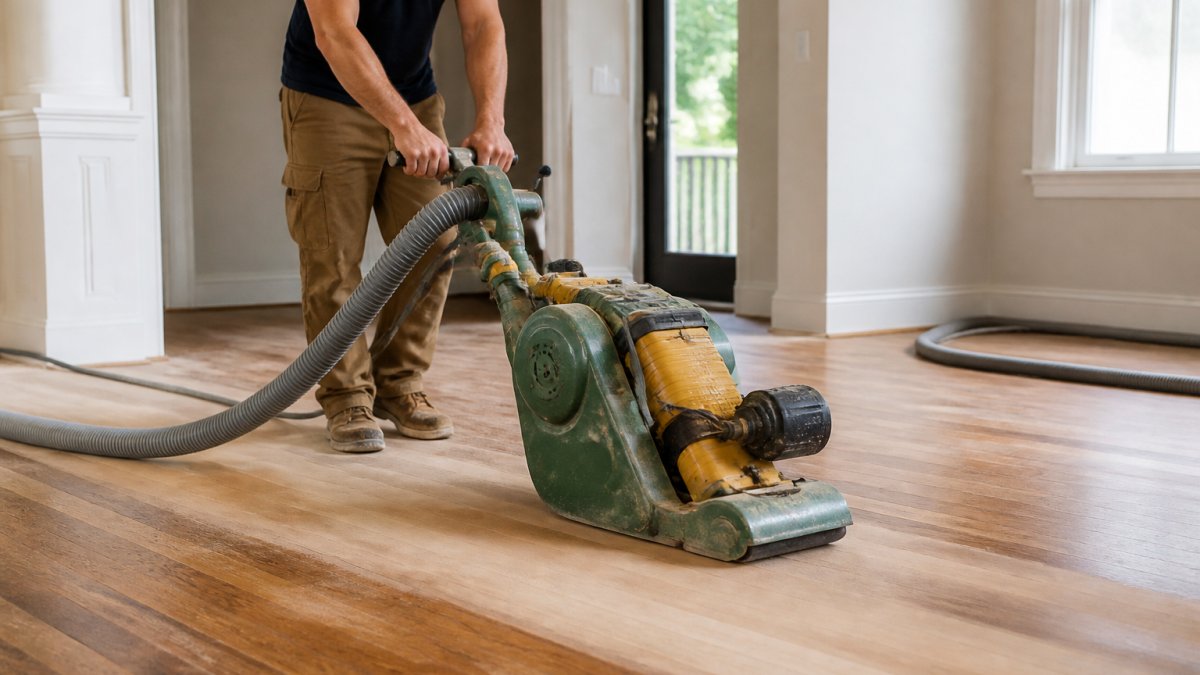
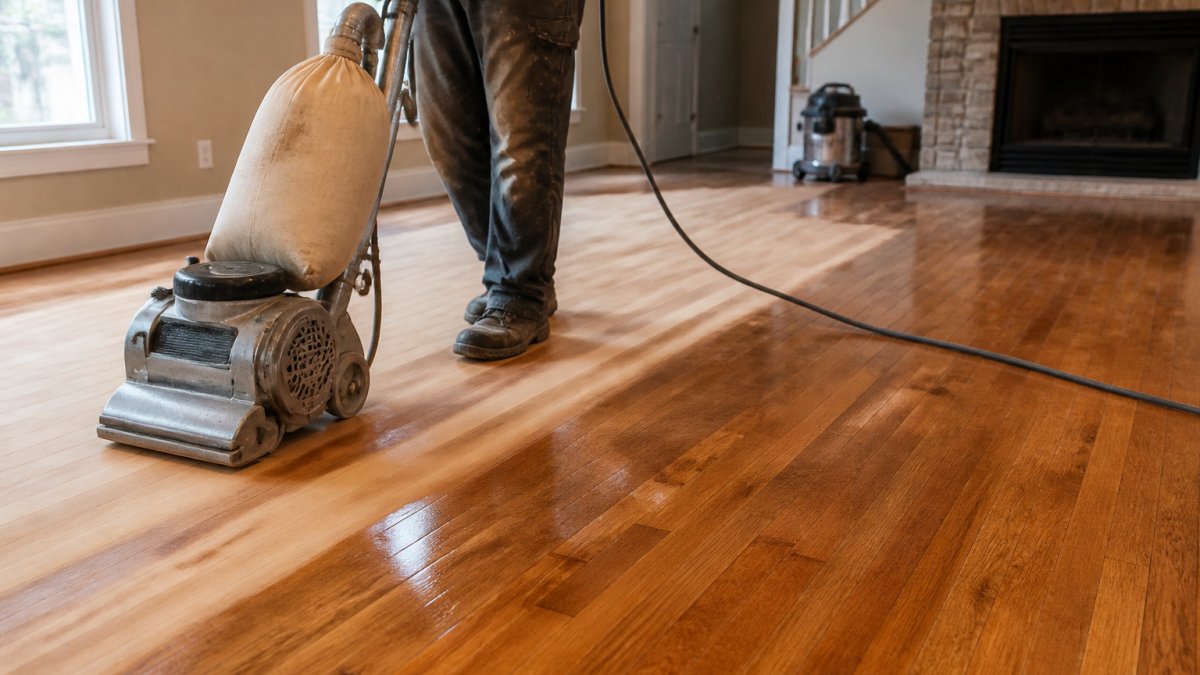
- What is your dust control setup? Vacuum-assisted sanding and dust extraction on saws make an occupied-home installation livable.
- What is the wait time, and what happens if it slips? Get the booking window in writing.
Request itemized quotes so you can compare preparation, installation, and trim as separate lines. A quote that lumps everything into one number hides where corners get cut.
At North American Hardwood, Rick Trischuk personally oversees every installation, backed by 38 years of hands-on hardwood work and vacuum-assisted sanding to keep dust down.
Hardwood installation rewards preparation and punishes shortcuts, and the gap between a floor that lasts and one that fails is usually set before the first board goes down.
Frequently Asked Questions
What tools are needed to install hardwood flooring?
A professional hardwood installation requires a flooring stapler or nailer, flooring nails, a tapping block, pull bar, spacers, chalk line, tape measure, circular saw, jigsaw, and a moisture meter. For glue-down, you also need flooring adhesive and a trowel. For floating floors, underlayment and a tapping block are essential. Having the right tools ensures proper board fit, minimizes damage, and helps maintain the manufacturer's warranty. Many specialty tools can be rented, but a professional installer brings them all.
How do professionals prepare a home for hardwood floor installation?
Preparation starts with removing furniture and old flooring, then inspecting the subfloor for levelness and moisture. Installers check relative humidity and acclimate the wood for 3-7 days. They clean the subfloor, fix any uneven areas, and install a moisture barrier if needed. Finally, they establish a layout with a chalk line and plan for expansion gaps. This thorough preparation prevents future buckling, gaps, and squeaks, and ensures the new floor performs as expected.
How long does professional hardwood floor installation take?
For an average room of 200-300 square feet, installation typically takes 2-4 days, including preparation and acclimation. Larger areas or complex patterns can take a week or more. The timeline includes subfloor prep, moisture testing, acclimation (3-7 days), installation itself, and trim work. Factors like room count, furniture moving, and transitions add time. A detailed schedule from your installer should outline each phase so you can plan household disruption.
What is the difference between solid and engineered hardwood?
Solid hardwood is a single piece of wood, typically 3/4 inch thick, and can be sanded and refinished multiple times. It requires nail-down installation and is sensitive to moisture. Engineered hardwood has a plywood core with a real wood veneer top, making it more stable and suitable for glue-down or floating installations, including over concrete. The choice depends on your subfloor, moisture conditions, and long-term refinishing plans. A professional can assess which fits your home.
How long should hardwood acclimate before installation?
Hardwood should acclimate for 3-7 days inside the room where it will be installed. This allows the wood to adjust to the home's temperature and relative humidity. Stack boxes with spacers to allow air circulation. Do not open boxes until installation day. Acclimation is critical for preventing gaps, cupping, and buckling. In dry winter months, it may take longer. Always follow the manufacturer's specific acclimation guidelines for the best results.