 blog
Hardwood Flooring Installation: A Complete Guide
Table of Contents
- Understanding Hardwood Flooring Installation
- Hardwood Flooring Installation Cost: What to Budget
- Getting a Hardwood Flooring Installation Quote
- Hardwood Floor Installation Timeline: What to Expect
- Essential Hardwood Flooring Tools Needed for Professional Work
- Choosing Between Solid and Engineered Hardwood
- Vetting Installers: What to Ask Before Hiring
- Frequently Asked Questions
Last Updated: October 19, 2026
Understanding Hardwood Flooring Installation
Hardwood flooring installation is the process of laying solid or engineered hardwood planks over a prepared subfloor. It requires precision, proper moisture management, and skilled craftsmanship to ensure the floor performs well for decades.
The difference between a floor that lasts 20 years and one that warps within five comes down to three factors: subfloor preparation, moisture control, and installation technique. Most homeowners underestimate how critical prep work is before a single plank goes down.
The process varies by material, subfloor condition, and the room's moisture profile. Solid hardwood demands careful moisture management and typically requires nailing or stapling. Engineered hardwood can be glued, nailed, or floated depending on the product and subfloor.
Hardwood Flooring Installation Cost: What to Budget
Below is the cost structure professional installers actually work from, so you can read a quote line by line.
The five cost buckets in every hardwood quote
A complete estimate should separate these, because each one moves independently:
- Materials, the planks themselves, plus trim, transitions, and fasteners.
- Labor, removal, subfloor prep, installation, and finishing are usually priced separately.
- Subfloor preparation, leveling, patching, moisture barrier, and underlayment.
- Removal and disposal, tearing out old flooring and hauling it away.
- Finishing, only applies to unfinished solid hardwood (sanding, staining, sealing).
If a quote bundles all five into one lump sum, ask for the breakdown. A single number hides where the risk is.
Typical cost ranges to expect
Exact figures vary by species and subfloor condition, but these ranges are a useful benchmark when comparing bids. Your site inspection sets the final number.
| Cost component | Typical range (per sq ft) | Notes |
|---|---|---|
| Solid hardwood material | $8-$15 | Species and grade drive most of the spread |
| Engineered hardwood material | $6-$12 | Veneer thickness matters more than total thickness |
| Installation labor | $4-$8 | Nail/staple is usually cheaper than glue-down |
| Subfloor prep and leveling | $1-$4 | Higher if self-leveling compound is needed |
| Old floor removal and disposal | $1-$3 | Tile and glued-down floors cost more to remove |
| On-site sanding and finishing | $3-$6 | Unfinished solid only |
The material line is easiest to compare between bids; the prep line is where quotes diverge most. Two installers quoting the same plank can differ by thousands on prep alone, usually a signal, not noise.
What drives your number up or down
- Square footage and layout. Rooms with lots of doorways, closets, and angles waste more material and take longer to install than one open rectangle.
- Subfloor condition. A flat plywood subfloor is the cheapest scenario. Concrete that needs moisture mitigation, or joists that need reinforcement, adds cost fast.
- Solid vs. engineered. Engineered usually costs less in material and can go over more subfloor types, which can reduce prep.
- Stair noses and transitions. Each stair tread and doorway transition is priced individually and adds up quickly.
- Finishing on site. Unfinished solid gives you a custom stain and a seamless floor, but the sanding and finishing line is real money and adds days.
Hidden costs to ask about before you sign
These are the line items that turn a "good quote" into a budget overrun:
- Moisture mitigation. If a concrete slab reads high on a moisture test, a barrier or topical system may be required.
- Asbestos-containing adhesive or flooring. In older homes, removal may require testing and specialized abatement before installation can start.
- Furniture moving and appliance disconnection. Some installers include it, some don't.
- Trim removal and reinstallation. Baseboards often come off and go back on, confirm who does it.
- Disposal fees. Hauling old flooring to a transfer station is a real cost, not a courtesy.
How to read a quote in five minutes
- Check that materials, labor, prep, removal, and finishing are separate lines.
- Confirm the square footage matches your measurement (add 5-10% for waste).
- Look for a stated moisture-test result and what happens if it fails.
- Confirm whether the price is fixed or subject to change after tear-out.
- Verify the warranty terms are written into the quote, not promised verbally.
A fair quote is specific enough that you could hand it to a different installer and get a comparable bid. If you can't, ask for a revised version before you commit.
Getting a Hardwood Flooring Installation Quote
A quality quote for hardwood flooring installation should include a free site visit where the installer assesses your subfloor, measures moisture levels, and evaluates existing conditions, typically 30-45 minutes.
During the consultation, be clear about scope: single room or multiple areas, existing hardwood to remove, visible water damage or uneven subfloors. The more detail you provide, the more accurate your quote.
Ask installers these specific questions when requesting quotes:
- What moisture testing will you perform, and what are acceptable moisture levels for the wood species I've chosen?
- Will you handle subfloor preparation, or is that my responsibility?
- What warranty do you offer on labor and materials?
- How long is your typical wait time from quote to installation start?
- Do you have references from similar projects completed in the last 12 months?
- What happens if complications arise during installation, how are additional costs handled?
Request at least three quotes, comparing not just price but communication style, willingness to answer questions, and professionalism.
Hardwood Floor Installation Timeline: What to Expect
The installation timeline typically spans 3-7 days for an average residential project, varying with room size and subfloor condition.
Here's a realistic breakdown of what happens during a typical installation:
Day 1-2: Subfloor Preparation The installer removes old flooring, inspects and repairs the subfloor, and performs moisture testing. Vacuum-assisted sanding removes dust, especially important if anyone in your home has allergies.
Day 2-3: Acclimation and Layout Planks are laid out to acclimate to the room's humidity and temperature. The installer plans the layout to minimize waste and ensure visual balance, preventing gaps and buckling later.
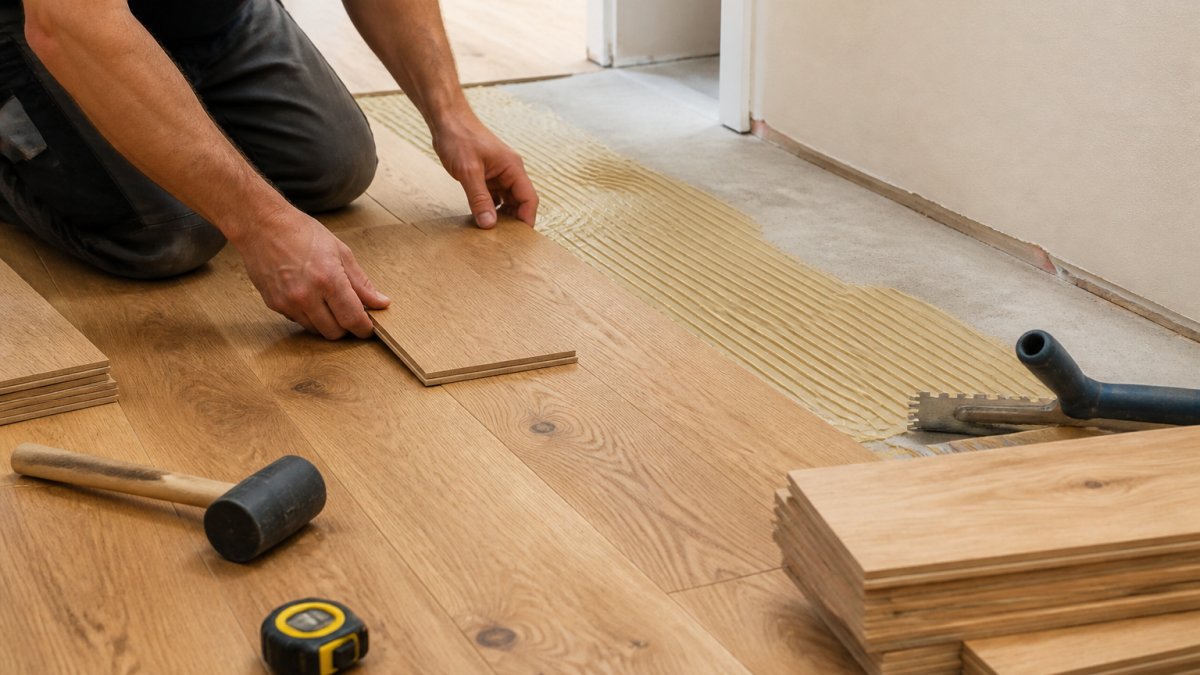
Day 3-5: Installation Planks are fastened using nails, staples, or adhesive depending on wood type and subfloor. The installer checks for gaps and ensures each plank sits flush.
Day 5-7: Finishing (if applicable) For unfinished hardwood, the installer sands and finishes on-site, adding 2-3 days but allowing custom stain colors and a seamless appearance.
After Installation Most hardwood floors need 24-48 hours before foot traffic resumes and 7 days before furniture placement. Temperature and humidity should remain stable during this curing period.
Essential Hardwood Flooring Tools Needed for Professional Work
You're not installing your own floor, that's why you searched for an installer. But knowing what a professional crew brings is one of the fastest ways to tell a real hardwood installer from a handyman who "also does floors."
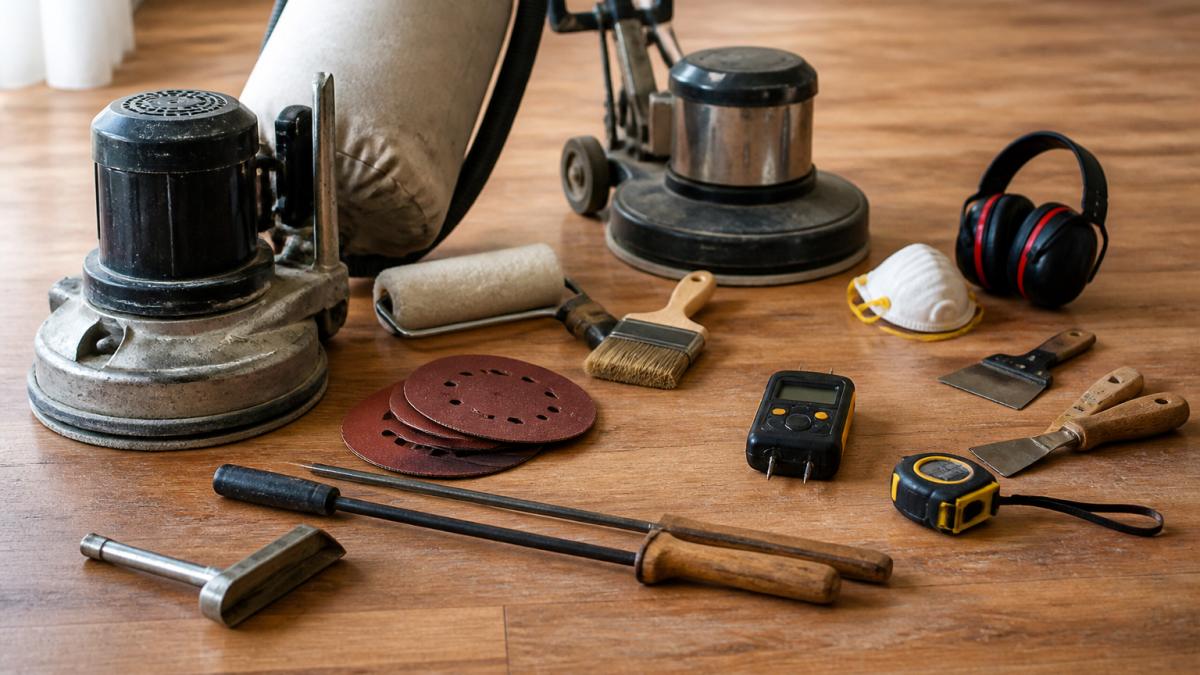
The equipment a legitimate hardwood crew brings
- Moisture meters. Both a pin meter for wood and a concrete moisture tester for slabs. If an installer quotes you without testing moisture, that's a red flag, it's the single biggest cause of callbacks.
- Pneumatic nailers and staplers. The standard for solid and most engineered nail-down installations. A crew using only a hammer and finish nails is not set up for production hardwood work.
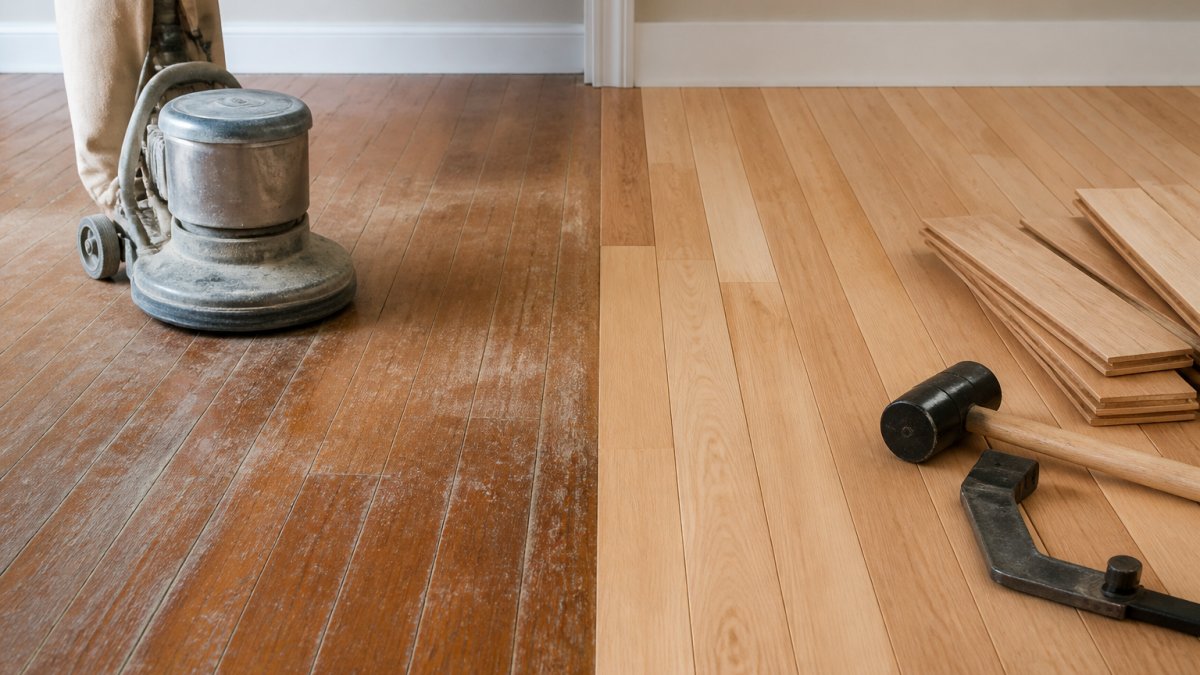
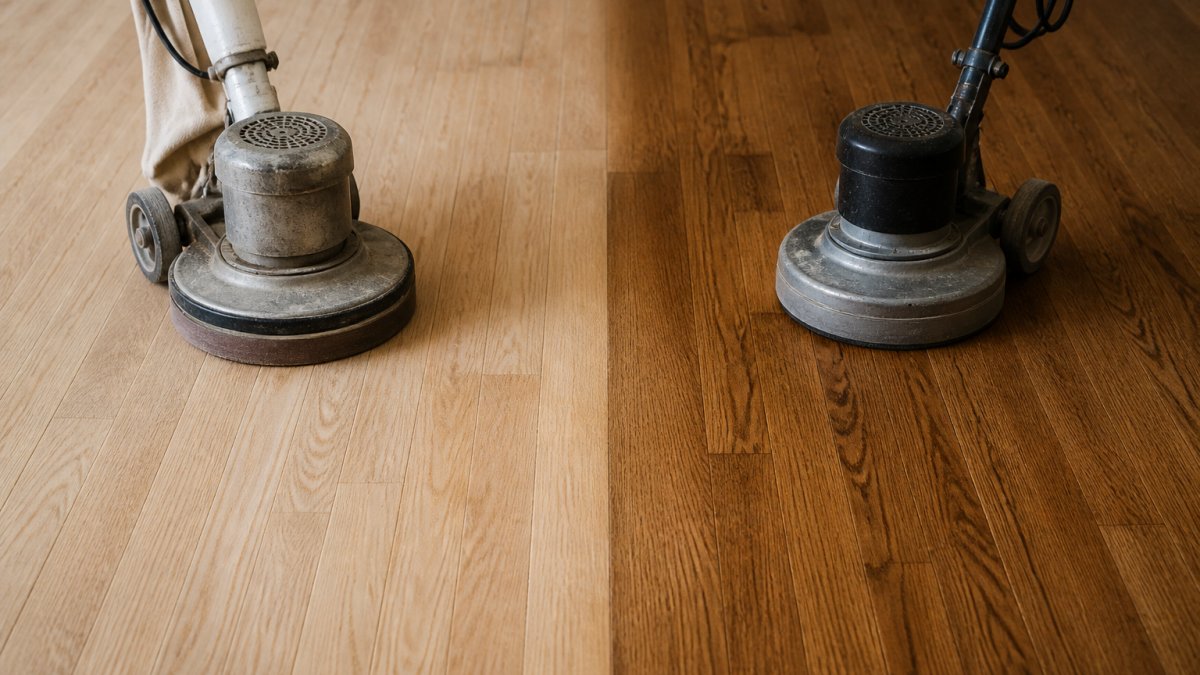
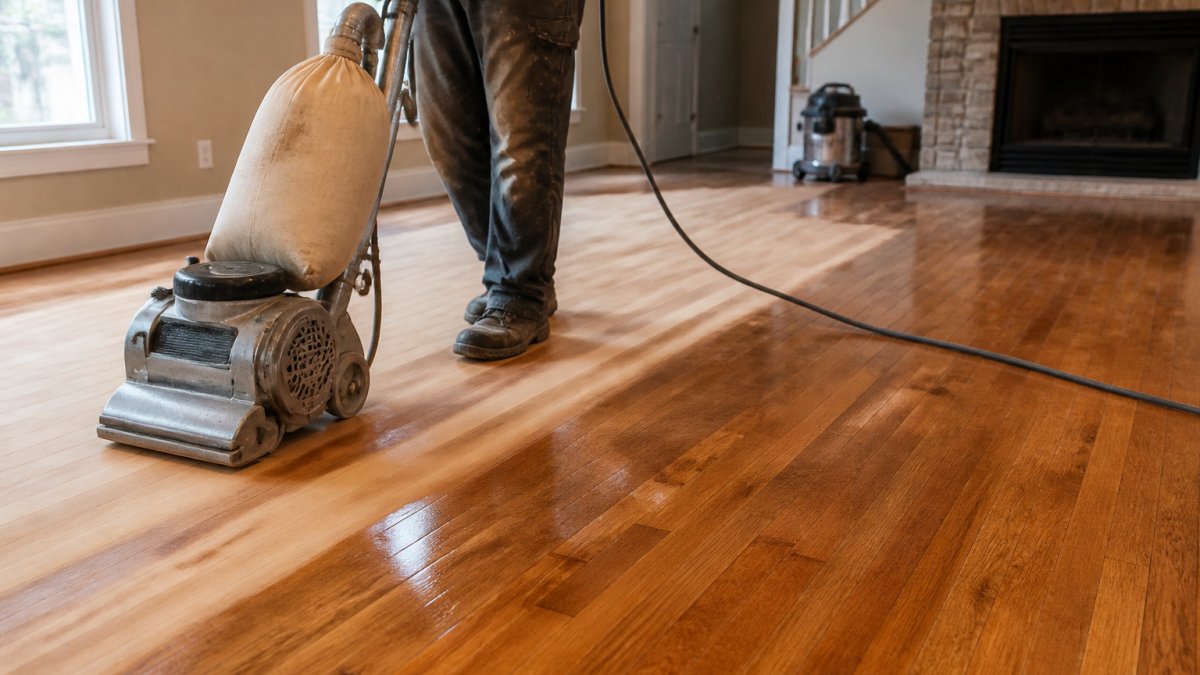
- Dust-controlled sanding equipment. Vacuum-assisted sanders connected to a HEPA extractor. Ask specifically whether they use one, standard drum sanders without extraction leave fine dust throughout the house for weeks.
- Flooring jacks, pry bars, and tapping blocks. These protect the tongue-and-groove edges during installation and keep rows tight.
- Moisture barrier and underlayment materials. Rolled barrier over concrete, underlayment over wood subfloors, the right product depends on your subfloor, and the installer should be able to explain which and why.
- Transition and trim tooling. Undercut saws for door jambs, and the right transitions for the height difference between hardwood and adjacent flooring.
What their equipment tells you about their process
A crew's tool list is a proxy for how they work: moisture meters mean they test before installing, dust extraction means they plan for air quality, and a dedicated finishing setup means they control the sanding sequence.
What you should NOT be expected to supply
You shouldn't need to rent or buy any of this. If an installer asks you to provide fasteners, underlayment, or a moisture barrier, clarify whether costs are being passed through or scope is being trimmed, either is fine, but it should be stated in the quote.
The one tool question worth asking every installer
"What do you use for dust control, and what moisture readings would stop the install?" The answer tells you whether they have a process or just a truck. A professional will give you specific thresholds and a specific dust-control method. A handyman will give you a shrug.
Choosing Between Solid and Engineered Hardwood
The choice between solid and engineered hardwood affects installation options, durability, and maintenance.
Solid hardwood is a single piece of wood throughout its thickness. It's more expensive, requires careful moisture management, and can only go over wooden subfloors or concrete with moisture barriers. It can be refinished 5-10 times, but expands and contracts with humidity, making acclimation and moisture control critical.
Engineered hardwood bonds a thin hardwood veneer to a plywood or fiberboard base. It's more stable, resists moisture better, and can go over concrete, radiant heating, and various subfloors. It costs less but can typically be refinished only 1-2 times.
For kitchens, bathrooms, or basements where moisture fluctuates, engineered is the practical choice. For living rooms and bedrooms with stable humidity, solid offers superior longevity and refinishing potential. Many homeowners use engineered in moisture-prone areas and solid elsewhere.
Your installer should recommend the appropriate type based on your subfloor, room location, and climate. At North American Hardwood, we assess each space individually because one choice doesn't suit every situation.
Vetting Installers: What to Ask Before Hiring
Choosing the right hardwood flooring installation contractor determines whether your floor performs well or develops problems within a few years. Evaluate installers on experience, communication, and track record.
Ask for references from at least three projects completed in the last 12 months, and ask directly: Was work on schedule? Any unexpected costs? How does the floor look and perform now?
Check whether the installer carries liability insurance and workers' compensation coverage. This protects you if someone is injured on your property or if damage occurs during installation.
Discuss warranty terms in detail. What does the installer guarantee on their labor? What's the timeline for warranty claims? Are there maintenance requirements you must follow to keep the warranty valid?
Pay attention to how the installer answers questions. Do they explain their process clearly and address concerns directly? A professional educates you about the work, not just performs it.
Finally, trust your instinct about having this person in your home for a week.
Finding the right hardwood flooring installation contractor requires careful evaluation, but the effort pays dividends in a floor that looks beautiful and performs well for decades.
Frequently Asked Questions
How much does professional hardwood flooring installation cost?
Hardwood flooring installation cost depends on floor area, wood species, subfloor condition, and regional labor rates. Pricing varies significantly based on whether you're installing in a new space, replacing existing flooring, or repairing damaged sections. Request a detailed quote from a professional installer who can assess your specific project and provide itemized estimates for materials and labor.
How long does hardwood floor installation timeline typically take?
A standard hardwood floor installation timeline ranges from several days to two weeks, depending on project size and subfloor preparation needs. Smaller rooms may take 2-3 days, while larger areas or projects requiring extensive subfloor work can extend to 1-2 weeks. Drying time for finishes adds additional days. Your installer should provide a detailed timeline during the consultation phase.
What should I look for when choosing a hardwood flooring installer?
Verify the installer's experience with hardwood flooring specifically, check references and customer reviews, confirm they carry proper licensing and insurance, and ask about their approach to dust control and project preparation. Request a detailed hardwood flooring installation quote that breaks down materials and labor. Meet the installer in person to assess their professionalism and willingness to answer your concerns clearly.
Can hardwood floors be installed over existing flooring?
Hardwood can sometimes be installed over existing flooring, but most professionals recommend removing old flooring first to inspect the subfloor for damage or moisture issues. Direct installation over existing surfaces risks uneven surfaces, moisture problems, and warranty complications. Your installer should evaluate your specific subfloor condition during the consultation to recommend the best approach for your project.