 how-to
Dust-Free Hardwood Floor Refinishing: Process & Results
Table of Contents
- What Dust-Free Hardwood Floor Refinishing Actually Means
- How Dustless Hardwood Floor Sanding Systems Work
- Dust-Free Floor Refinishing Cost: What Affects Your Estimate
- Hardwood Floor Refinishing Timeline: What to Expect
- How to Prepare for Floor Refinishing: Step-by-Step
- What Dust-Free Refinishing Can and Cannot Repair
- The Dust-Free Refinishing Process: From Preparation to Finish
- Frequently Asked Questions
Last Updated: October 18, 2026
What Dust-Free Hardwood Floor Refinishing Actually Means
Dust-free hardwood floor refinishing is a restoration method that removes surface damage, discoloration, and wear from wood floors while capturing airborne dust at the source.
The term "dust-free" doesn't mean zero dust. It means capturing 95% or more of particles before they settle on furniture, walls, and air filters. Traditional sanding sends fine wood particles throughout your home for weeks. Dust-free methods contain the mess to the work area.
Here's what happens during the process:
- Sanding removes old finish and surface damage
- Vacuum system captures dust in real-time
- New finish is applied to bare wood
- Floors cure and harden over several days
This method works on most solid hardwood floors. Engineered wood, water-damaged boards, and heavily stained floors may need different approaches.
How Dustless Hardwood Floor Sanding Systems Work
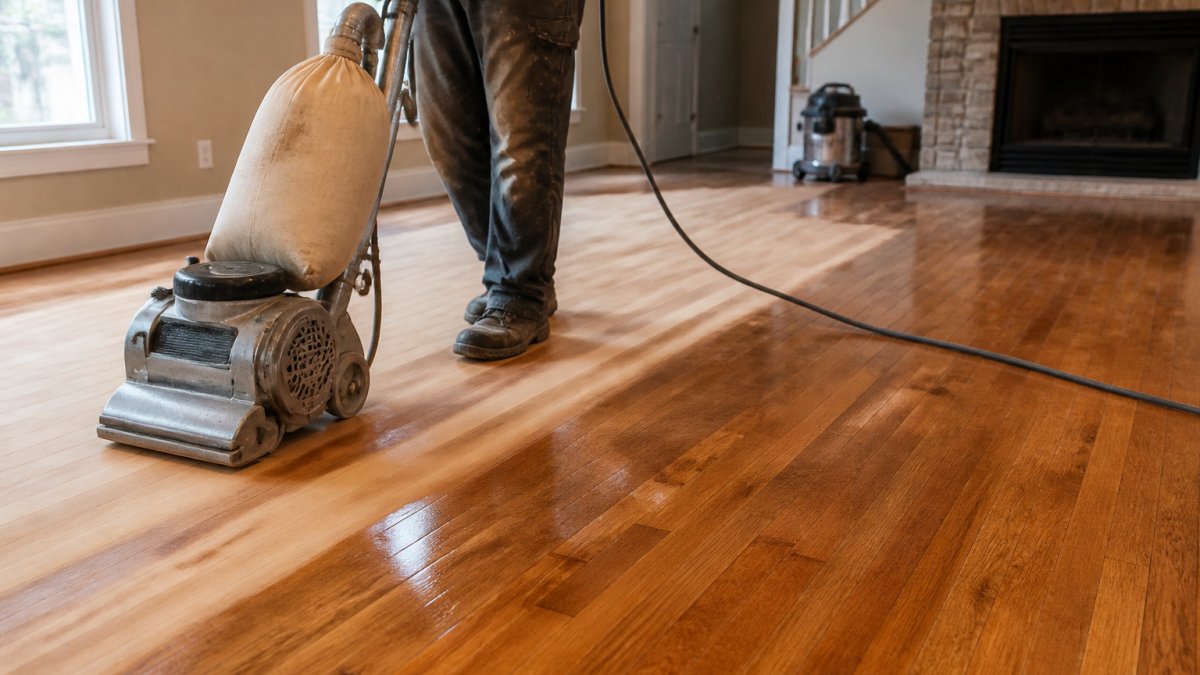
Dustless hardwood floor sanding combines standard sanding equipment with industrial dust containment. The vacuum system is the key difference. It pulls dust away from the sanding head and into collection bags or a filtered tank.
Vacuum-Assisted Sanding Technology
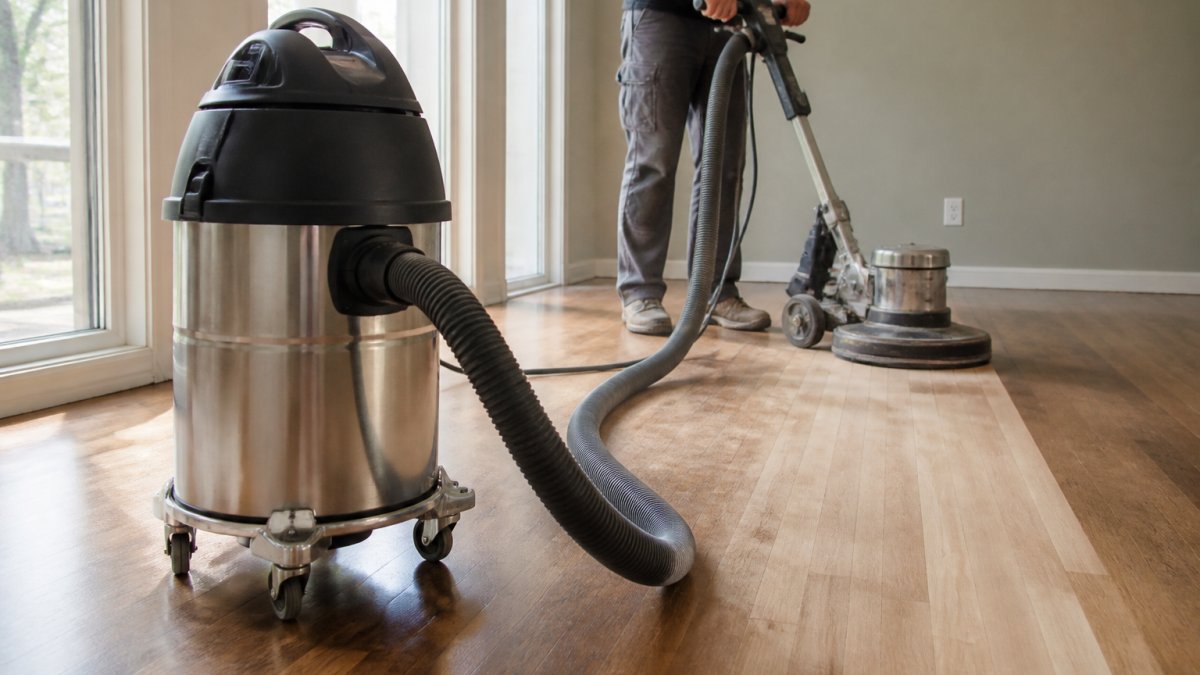
Vacuum-assisted sanding uses a sander with a built-in dust port connected to a dedicated vacuum system. As the sanding head moves across the floor, the vacuum creates negative pressure that pulls dust particles directly into the collection system.
The vacuum system typically includes:
- A high-powered motor that creates strong suction
- HEPA filters to trap fine particles
- Collection bags or tanks that hold captured dust
- Hoses sized to match the sander's dust port
The sander still works the same way it always has. The vacuum simply captures what it produces. Most professional contractors use truck-mounted vacuum systems for larger projects.
Smaller projects may use portable units that fit in a corner. Either way, the principle is the same: capture dust at the source before it becomes airborne.
Dust Containment vs. Traditional Sanding
Traditional sanding releases dust into the air. It settles everywhere: on shelves, in corners, on top of ceiling fans. Cleanup takes weeks even after the project ends. Your HVAC system pulls some particles through the filter, but fine wood dust is small enough to bypass many standard filters.
Dust-free floor refinishing contains dust at the source. Most particles never leave the collection system. This means:
- Cleaner air during and after the project
- Faster cleanup when work is done
- Less stress on your HVAC system
- Easier on family members with allergies or respiratory sensitivity
The difference is noticeable. Homes with dust-free refinishing show dust on surfaces for days, not weeks. The air quality returns to normal much faster.
However, dust-free sanding costs more than traditional sanding because the equipment is more expensive and requires more setup.
Dust-Free Floor Refinishing Cost: What Affects Your Estimate
Pricing for dust-free hardwood floor refinishing depends on several factors specific to your project. North American Hardwood provides custom estimates based on your floor's condition, size, and finish choice. Contact us for a quote tailored to your home.
Factors That Change Project Cost
The main cost drivers are:
- Floor size: Larger floors take more time and materials
- Floor condition: Heavy damage requires extra sanding stages
- Current finish: Thick old finishes take longer to remove
- Wood species: Some woods sand faster than others
- Finish type: Water-based finishes cost less than oil-based options
- Room accessibility: Stairs, tight corners, and built-ins add time
- Subfloor condition: Water damage or soft spots may require board replacement
A small bedroom might cost significantly less than a full-house project. A floor with light scratches costs less than one with deep gouges and stains.
Why Refinishing Often Costs Less Than Replacement
Replacing hardwood floors means removing old boards, disposing of them, installing new wood, and finishing everything from scratch. Refinishing restores existing boards by removing the damaged surface layer and applying fresh finish.
Refinishing is typically less expensive than full replacement. You keep your original wood, which means:
- No disposal costs for old flooring
- No new material costs for entire floor
- Faster project timeline
- Existing wood character and grain patterns remain
Replacement makes sense only when boards are rotted, warped beyond repair, or water-damaged throughout. For surface wear, scratches, and discoloration, refinishing delivers better value.
Hardwood Floor Refinishing Timeline: What to Expect
Most dust-free hardwood floor refinishing projects take 2-4 days from start to finish, depending on floor size and condition. The timeline includes sanding, finishing, and curing time.
Typical Project Duration by Floor Size
Small projects (under 500 square feet) typically complete in 2-3 days. Medium projects (500-1,500 square feet) take 3-4 days. Large projects (over 1,500 square feet) may extend to 5+ days.
The actual work schedule looks like this:
- Day 1: Floor preparation, initial sanding stages
- Day 2: Additional sanding, stain application (if chosen)
- Day 3: Finish coats applied
- Days 4-7: Curing and hardening
The timeline assumes your floor is accessible and doesn't require major repairs. Water damage or rotted boards add time because those sections may need board replacement before sanding begins.
Curing, Ventilation, and Re-Entry
After finish is applied, your floor needs time to cure. Curing is different from drying. The finish dries to the touch within hours, but it continues hardening for days.
During curing:
- Keep traffic off the floor for 24-48 hours
- Maintain good air circulation with fans and open windows
- Keep humidity levels moderate (40-60% is ideal)
- Avoid spills and moisture on the new finish
- Don't place furniture back until finish is fully cured
Full curing typically takes 7-14 days depending on finish type. Water-based finishes cure faster (5-7 days). Oil-based finishes take longer (10-14 days).
You can walk on the floor lightly after 24 hours, but heavy furniture should stay off until day 3-4. Rugs and mats should wait until day 7.
How to Prepare for Floor Refinishing: Step-by-Step
Proper preparation ensures your refinishing project goes smoothly and protects your home from dust and damage.
Room Preparation and Protection
Start by clearing the room completely. Remove all furniture, rugs, and decorations. This includes items in closets and under beds because dust penetrates everywhere.
Next, seal doorways and vents:
- Close interior doors to other rooms
- Seal gaps under doors with plastic sheeting and tape
- Cover HVAC vents and returns with plastic
- Close windows to prevent outside dust from entering
Protect fixtures you can't remove:
- Cover ceiling fans, light fixtures, and smoke detectors with plastic bags
- Tape plastic around door frames and trim
- Protect baseboards with painter's tape
Open windows slightly in the work room to create air flow that pulls dust toward the outside. Close windows in other rooms to prevent dust migration.
What to Remove and How to Protect Furnishings
Remove everything from the room: furniture, rugs, curtains, wall hangings, and decorations. Dust penetrates fabric and settles on surfaces, so items left behind will need extensive cleaning.
For items you must leave in place (built-in cabinets, closet shelving):
- Tape plastic sheeting over shelves and inside spaces
- Seal cabinet doors with painter's tape
- Cover any fabric or upholstered items with plastic
Store removed items in a garage, basement, or sealed room away from the work area. Don't leave them in hallways or adjacent rooms where dust can reach them.
What Dust-Free Refinishing Can and Cannot Repair
Dust-free hardwood floor refinishing restores surface appearance and removes wear. It cannot fix structural damage or replace rotted wood.
Surface Wear, Scratches, and Discoloration
Refinishing removes:
- Scratches (shallow to moderate depth)
- Dull or worn finish
- Light discoloration and stains
- Surface scuffs and marks
- Water rings from standing moisture
Deep gouges that penetrate the wood grain may remain visible after refinishing because the damage goes below the surface. Wood filler can minimize their appearance, but the floor will still show the mark.
Refinishing also addresses ambering (yellowing of wood over time) by removing the old finish and applying fresh coating. This restores the wood's original color.
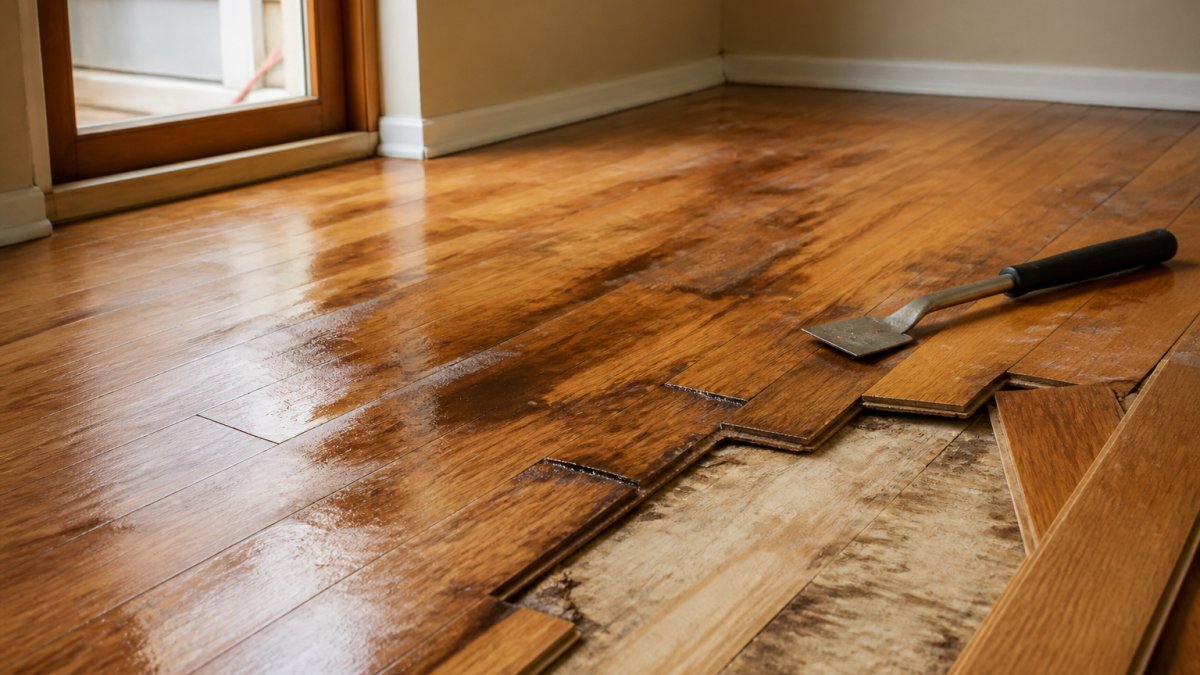
Water Damage and When Boards Need Replacement
Minor water damage (surface moisture that dried quickly) refinishes normally. The wood returns to its original appearance once the old finish is removed.
Significant water damage requires board replacement. Signs include:
- Soft or spongy areas when you press the wood
- Cupping (edges higher than center) that doesn't flatten
- Visible mold or discoloration that penetrates deep into the grain
- Warping or buckling
If boards are damaged beyond repair, they must be replaced before refinishing. North American Hardwood can assess whether your water-damaged area needs new boards or can be restored through refinishing alone.
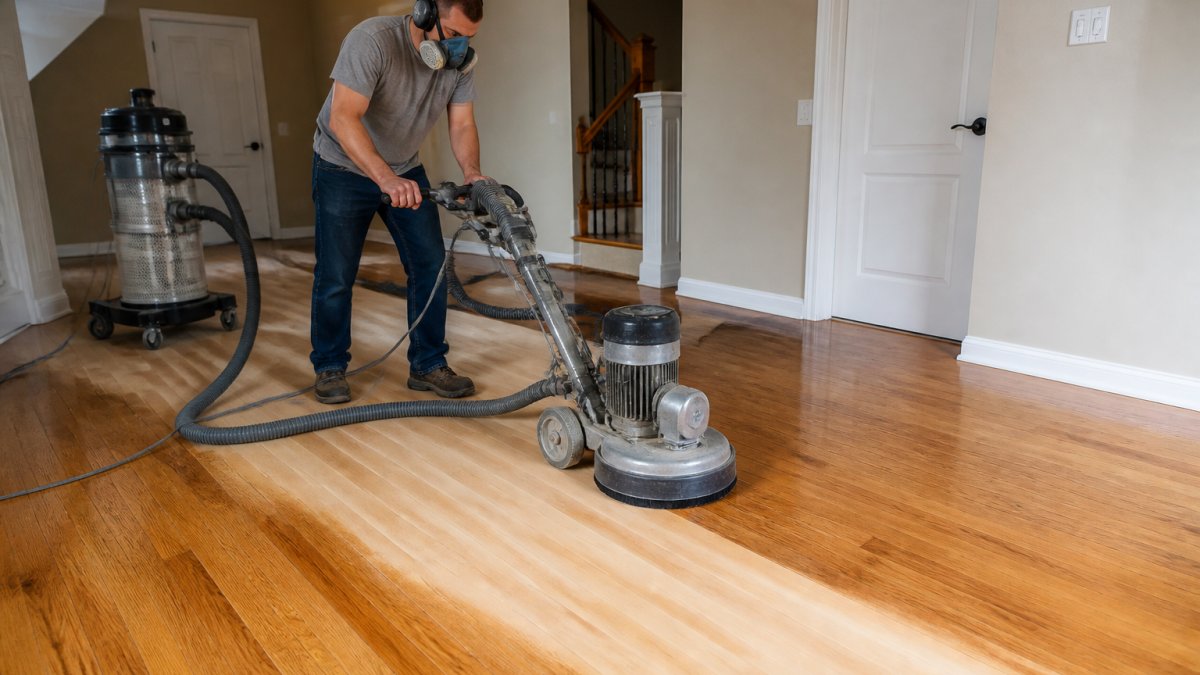
The Dust-Free Refinishing Process: From Preparation to Finish
The dust-free refinishing process follows a proven sequence that removes old finish and damage while applying new protection to your wood.
Sanding Stages and Grit Progression
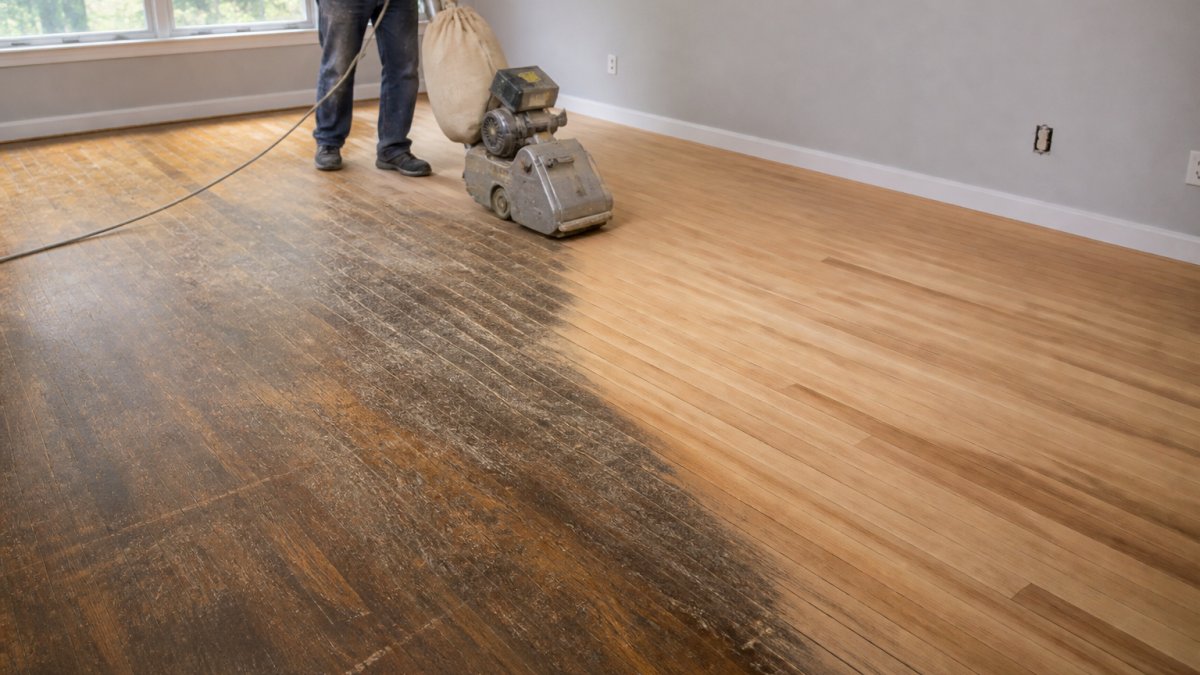
Refinishing uses multiple sanding stages with progressively finer grits. Each stage removes scratches left by the previous stage and prepares the wood for the next step.
The typical progression is:
- Stage 1 (36-40 grit): Removes old finish and surface damage
- Stage 2 (60-80 grit): Smooths the wood and removes stage 1 scratches
- Stage 3 (100-120 grit): Fine sanding for smooth finish application
- Stage 4 (150+ grit): Final preparation for stain or topcoat
Each stage uses a drum sander or orbital sander depending on the work required. Dust-free equipment captures particles at each stage. The vacuum system runs continuously throughout the sanding process.
Between stages, the floor is vacuumed and wiped with a tack cloth to remove dust before the next grit is applied. This prevents coarser particles from scratching the wood during finer sanding.
Finish Application and Drying
After sanding is complete, stain is applied if you want color change. Stain penetrates the wood grain and dries within hours.
Next, topcoat finish is applied. Most projects use either water-based or oil-based polyurethane:
- Water-based finish: Lower odor, faster drying, easier cleanup
- Oil-based finish: Richer appearance, longer curing time, stronger odor
Most finishes require 2-3 coats. Each coat dries before the next is applied. Drying time between coats is typically 4-8 hours.
The final coat must cure fully before normal use. This takes 5-14 days depending on finish type and humidity levels.
Dust-free hardwood floor refinishing restores your floors while keeping your home cleaner during the project.
Request an Estimate from North American Hardwood today.
Frequently Asked Questions
Does dust-free hardwood floor refinishing eliminate all dust?
No process eliminates 100% of dust, but vacuum-assisted dust-free sanding systems capture 95% or more of airborne particles and debris. Traditional sanding spreads dust throughout your home and into the air for days. Dust-free systems use sealed sanding equipment with real-time vacuum collection, meaning minimal settling on surfaces and improved air quality during and after the project.
How much does dustless hardwood floor sanding cost compared to replacement?
Pricing depends on floor size, condition, wood species, and finish type. Dust-free refinishing typically costs considerably less than replacing hardwood floors entirely. Replacement involves removal, disposal, new material purchase, and installation, all major expenses. Refinishing restores your existing hardwood by removing the worn finish layer and applying fresh protective coating. Request an estimate to compare costs for your specific floor condition and project scope.
How long does dust-free hardwood floor refinishing take?
Most residential projects take 3-5 days total, depending on floor size and condition. Sanding typically happens over 1-2 days, followed by finish application and curing. After refinishing, you'll need to keep the room unoccupied for 24-48 hours while the finish cures fully.
What should I do to prepare my home for hardwood floor refinishing?
Remove all furniture, rugs, and loose items from the room being refinished. Close doors to seal off the work area and prevent dust from spreading to other rooms. Cover doorways with plastic sheeting if needed. Ensure adequate ventilation by opening windows where possible. Move pets and family members out during sanding and finish application, dust-free systems minimize airborne particles, but the space still requires ventilation.