 how-to
How to Refinish Hardwood Floors: Step-by-Step Guide
Last Updated: October 23, 2026
Quick Summary
To refinish hardwood floors, you sand the surface with progressively finer grits, optionally apply stain, and finish with 2-3 protective coats. The complete process takes 5-10 days from start to full cure, though your floors must have adequate wear layer thickness to be suitable candidates for refinishing.
- Solid hardwood needs at least 4.7 mm wear layer and engineered hardwood needs at least 2-4mm to refinish safely
- Sanding uses progressive grits starting at 36-60, moving to 80-100, and finishing with 120-150 grit
- HEPA-filtered vacuum systems capture 95% or more of airborne dust particles during sanding
- Most floors receive 2-3 finish coats with 4-8 hours drying between coats
- Water-based finishes cure in 7-14 days while oil-based finishes require 14-30 days full cure
Table of Contents
- Can You Refinish Your Hardwood Floors? Assessment and Readiness
- What You'll Need: Tools, Materials, and Safety Equipment
- Understanding the Hardwood Floor Refinishing Process
- How Long Does It Take to Refinish Hardwood Floors?
- DIY Hardwood Floor Refinishing: Step-by-Step Instructions
- Refinish or Replace Hardwood Floors: Making the Right Choice
- Common Mistakes to Avoid During Refinishing
- When to Call a Professional
- Frequently Asked Questions
Can You Refinish Your Hardwood Floors? Assessment and Readiness
Before you commit to a refinish hardwood floors project, you need to know whether your floors can actually be refinished.
The key question is simple: how thick is your wear layer? Solid hardwood floors typically have a wear layer of at least 4.7 mm (3/16 inch).
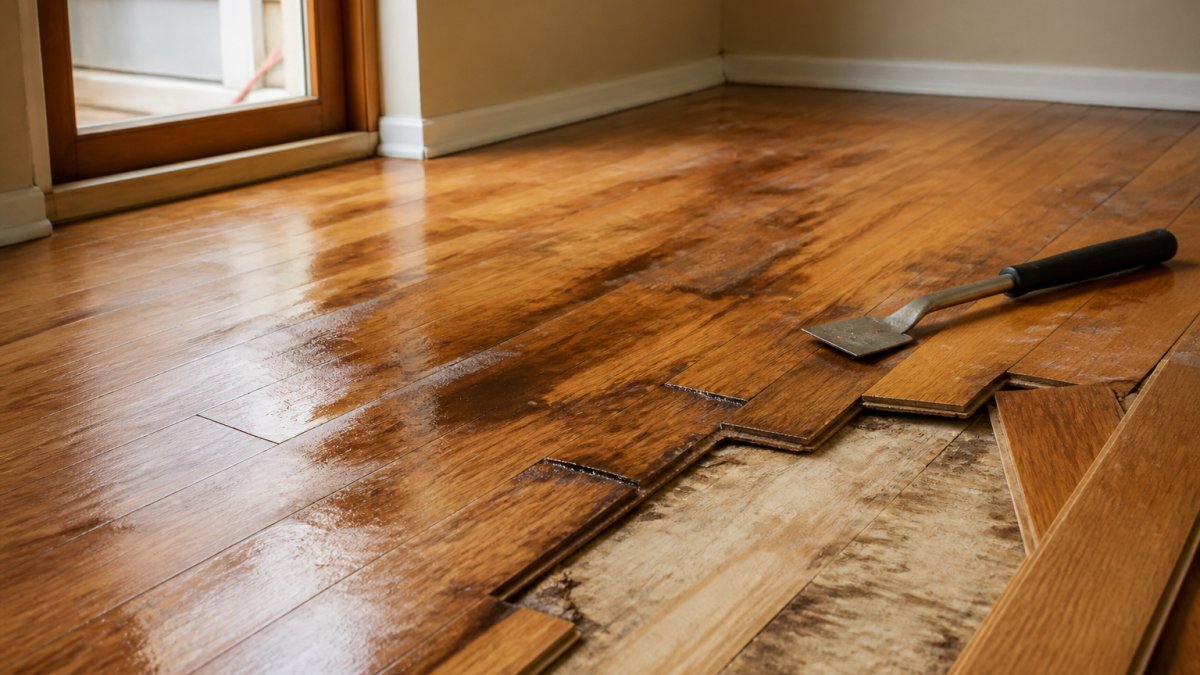
Water damage, deep gouges, and structural movement also affect refinishability. Minor surface scratches and dull finishes are perfect candidates for refinishing.
Check for these signs that refinishing is viable:
- Surface scratches and scuffs without deep gouging
- Overall dull or worn appearance across the floor
- Minor discoloration that hasn't penetrated the wood
- Solid structural condition with no movement or gaps
- At least 2-4mm of wear layer remaining (for engineered) or 4.7 mm (for solid)
If your floor shows significant water damage, widespread rot, or severe structural issues, replacement may be the more practical choice. We're transparent about this; sometimes the best solution isn't refinishing.
What You'll Need: Tools, Materials, and Safety Equipment
Refinishing hardwood floors requires specific tools and materials. Renting or purchasing the wrong equipment leads to poor results and potential damage to your floors.
Essential equipment for DIY refinishing:
- Floor sander (drum or orbital, rental is common for one-time projects)
- Edger sander for perimeter areas
- Vacuum with HEPA filter for dust collection
- Tack cloth for removing fine dust between coats
- Stain (if desired) and protective finish
- Paintbrushes, rollers, or applicator pads
- Safety gear: respirator mask, eye protection, hearing protection
- Drop cloths or plastic sheeting for protection
- Moisture meter to assess wood condition
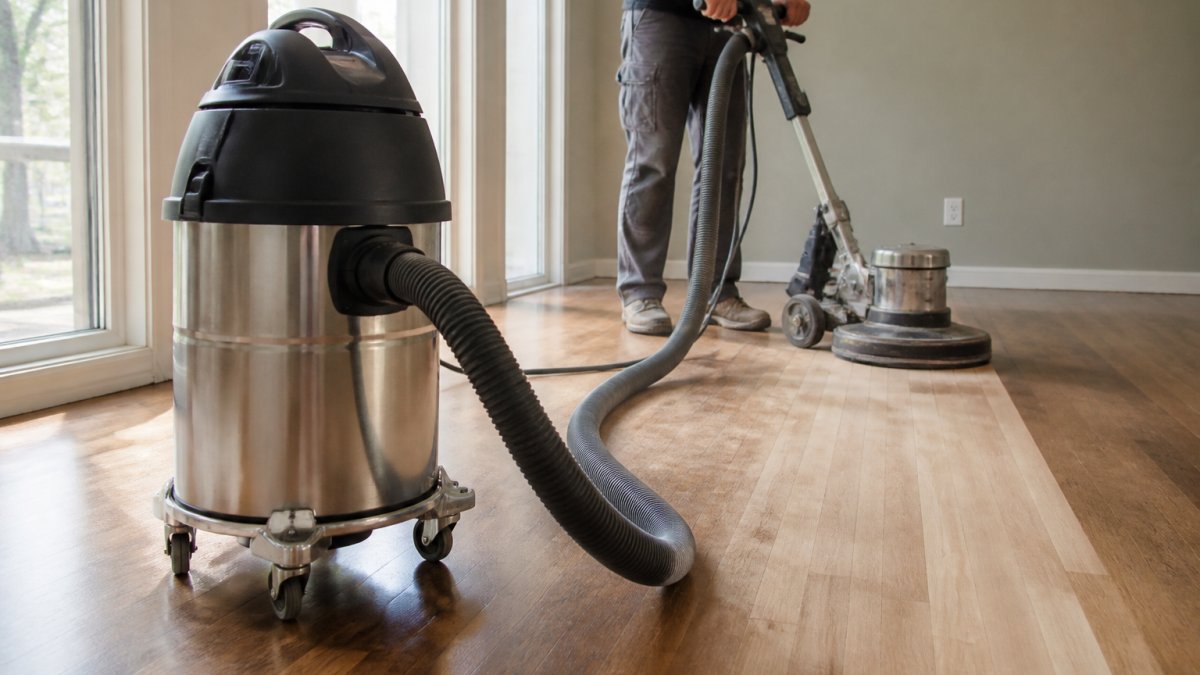
Dust control is critical. A standard shop vacuum isn't enough; you need a HEPA-filtered system or a sander with built-in dust collection. For optimal dust capture, consider a system like the Festool CT-SYS dust extractor, which integrates with their sanders.
For stain and finish, you'll choose between water-based and oil-based products. Popular brands include Benjamin Moore, Sherwin-Williams, and General Finishes.
Safety equipment isn't optional. Hardwood dust is fine and easily inhaled. A proper respirator mask (P100 rated) is essential, along with eye protection and hearing protection for prolonged sanding. According to Health Canada, fine particulate matter can have significant health impacts, making effective dust control paramount.
Understanding the Hardwood Floor Refinishing Process
The refinish hardwood floors process involves three main stages: sanding, staining (optional), and applying a protective finish. Each stage requires attention to detail and proper technique.
Floor Sanding and Dust Control
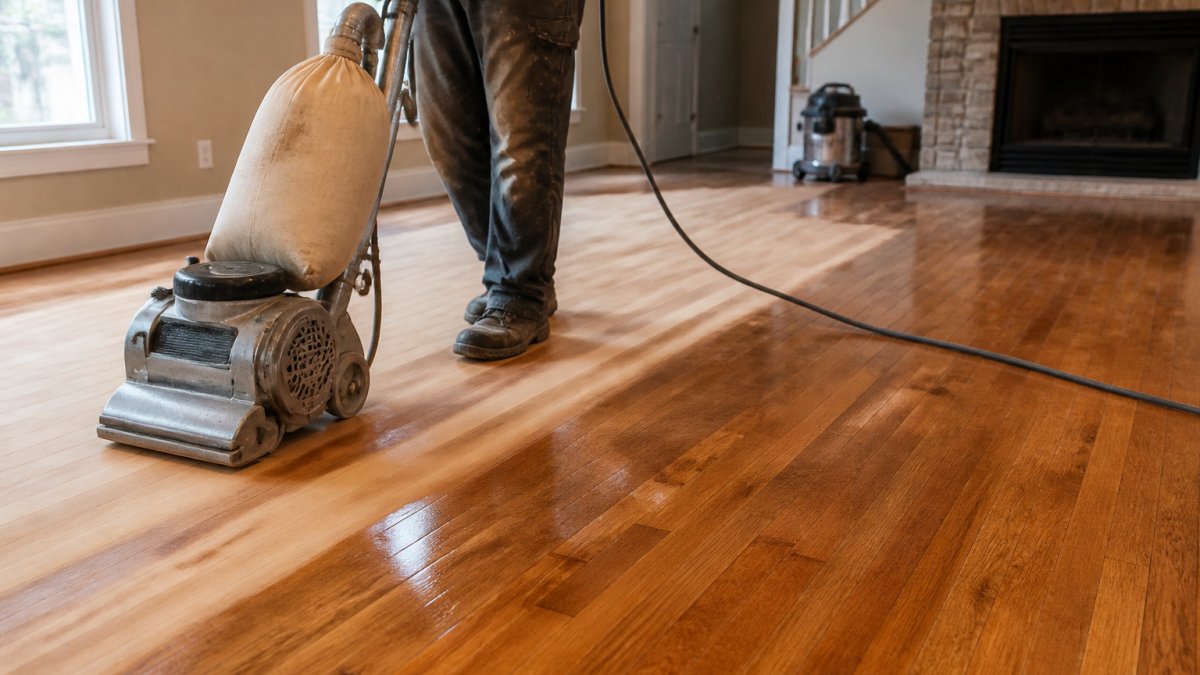
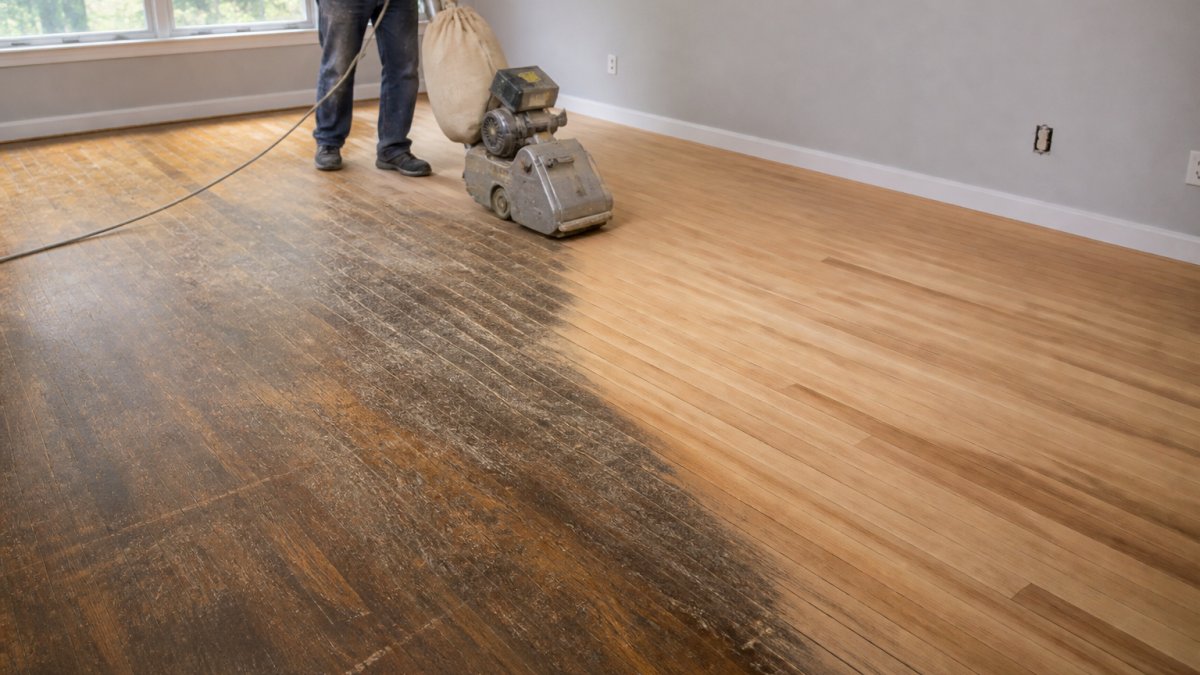
Floor sanding removes the old finish, smooths the wood surface, and prepares it for stain and new protective coating. The process typically uses progressively finer grits, starting with 36-60 grit, moving to 80-100 grit, and finishing with 120-150 grit for the final pass.
Dust control during sanding directly affects air quality and finish quality. Dust particles left on the floor create a rough surface under the new finish, reducing durability and appearance. The use of industrial-grade HEPA vacuums, such as those offered by brands like Shop-Vac or Nilfisk, is recommended for capturing 95% or more of airborne dust particles.
The sanding process takes 1-2 days depending on floor size and condition. Multiple passes are required to remove the old finish completely and achieve a smooth surface.
Staining and Color Selection
Staining is optional but transforms the floor's appearance. You can choose to keep the natural wood colour or apply stain to match your décor or cover minor discoloration.
Common stain options include:
- Natural or clear (no stain applied, shows original wood colour)
- Light golden tones for a bright, contemporary look
- Medium to dark walnut for traditional warmth
- Grey or whitewashed finishes for modern aesthetics
- Custom blends to match existing trim or furniture
Water-based stains like Minwax Water Based Wood Stain dry quickly (2-4 hours) and emit lower VOCs. Oil-based stains offer richer colour but require 24+ hours drying time. Test stain samples on inconspicuous areas or scrap wood before committing to the full floor.
Stain application typically takes 4-8 hours depending on floor size. Uneven application creates blotchy results, so careful technique matters. Maintaining a wet edge is crucial to avoid lap marks.
Applying Your Protective Finish
The protective finish, polyurethane, water-based urethane, or oil, determines durability and appearance. This is the final coat that protects your investment.
Polyurethane (oil-based) offers maximum durability and a warm amber tone. Water-based polyurethane dries faster and stays clear but may require more frequent recoating. Oil finishes provide a natural look but require more maintenance. Brands like Bona and Loba are well-regarded for their durable finishes.
Most floors receive 2-3 coats of finish. Each coat requires 4-8 hours of drying before the next application. The final coat cures over 7-30 days depending on product type.
How Long Does It Take to Refinish Hardwood Floors?
The timeline for refinishing hardwood floors depends on floor size, condition, and product choices. A typical residential project takes 5-10 days from start to full cure.
Realistic project timeline:
- Day 1: Preparation and initial sanding
- Day 2-3: Progressive sanding and dust removal
- Day 4: Staining (if desired) and first finish coat
- Day 5: Second finish coat
- Day 6-7: Third coat and initial cure
- Days 8-30: Full cure before heavy use
During the curing period, avoid placing furniture on the floor and minimize foot traffic. Water-based finishes cure faster (7-14 days) than oil-based finishes (14-30 days). High humidity slows drying and curing, so timing your project for dry seasons helps. According to Environment and Climate Change Canada, average humidity levels vary significantly by region, making pre-project planning essential.
DIY Hardwood Floor Refinishing: Step-by-Step Instructions
Refinishing hardwood floors yourself is achievable if you understand each step and invest in proper equipment. This walkthrough covers the essential process.
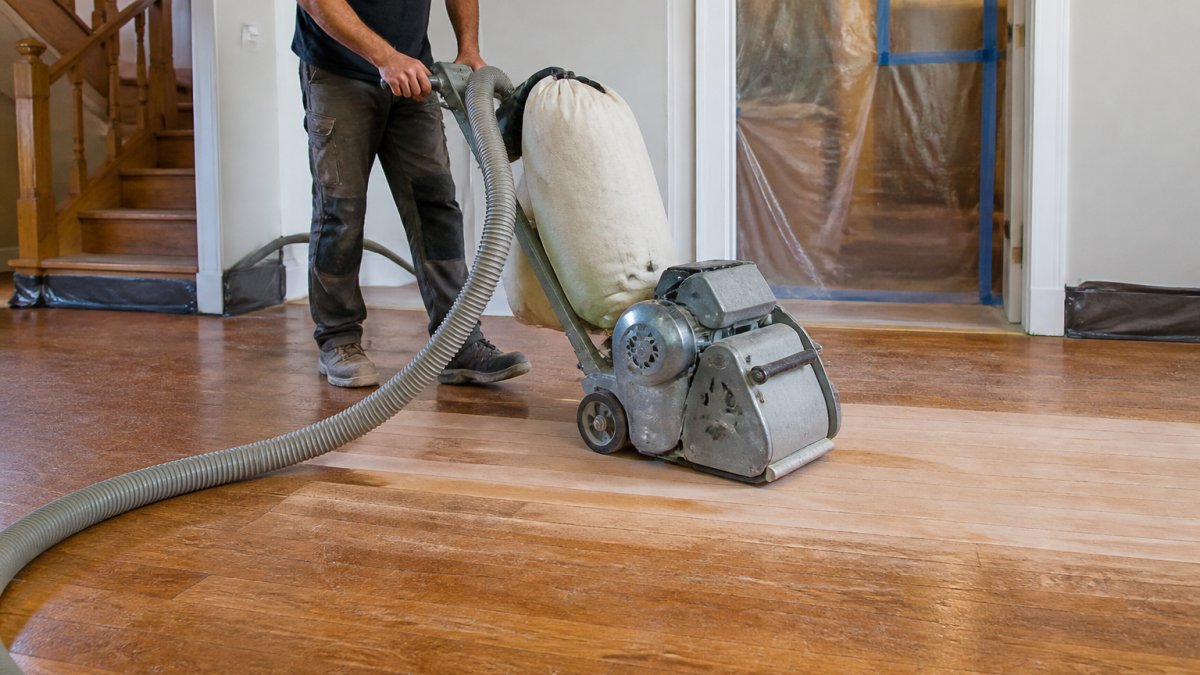
Step 1: Prepare Your Space and Protect Fixtures
Clear the room completely. Remove furniture, rugs, and décor. Close doors to adjacent rooms and seal gaps with plastic sheeting and tape to contain dust. Use 3M painter's tape for clean removal.
Cover vents, baseboards, and trim with painter's tape and plastic. Turn off HVAC systems during sanding to prevent dust circulation.
Inspect the floor for nails or staples protruding above the surface. Hammer them down or remove them; they'll damage your sander and create safety hazards.
Step 2: Sand the Floor Surface
Start with coarse grit (36-60) to remove the old finish. Sand with the wood grain, making overlapping passes. For aggressive removal, a drum sander is effective, while an orbital sander offers a smoother finish with less risk of gouging.
Progress to medium grit (80-100) after the first pass. This removes scratches from coarse sanding.
After each sanding pass, vacuum thoroughly with your HEPA filter system. Use a tack cloth to remove fine dust particles that would otherwise create bumps under your finish coat.
Edging is critical. Use an edger sander along walls and perimeter areas where the main sander can't reach. Blend edges smoothly with the main floor to avoid visible transitions.
Step 3: Stain (If Desired) and Apply Finish
If staining, apply stain according to product instructions. Work in sections, maintaining a wet edge to avoid lap marks. Let stain dry completely before applying finish.
Apply the first finish coat with a brush, roller, or applicator pad. Work with the grain and maintain even pressure. Avoid puddles and overlaps. For best results, use a high-quality applicator like a Wooster or Purdy roller.
Sand lightly between coats with fine grit (150-220) to promote adhesion. Vacuum and tack cloth again before applying subsequent coats.
Apply a second coat using the same technique. Most floors benefit from a third coat for maximum durability, especially in high-traffic areas.
Step 4: Cure and Final Inspection
After the final coat, keep the floor undisturbed during the curing period. Avoid walking on it unnecessarily and don't place furniture back until full cure is complete.
Inspect the finished floor for drips, dust particles, or uneven colour. Minor imperfections can often be sanded lightly and touched up, but major issues require professional assessment.
Once fully cured, reintroduce furniture gradually. Use felt pads under legs to prevent scratching. Maintain your refinished floor with regular vacuuming and occasional damp mopping.
Refinish or Replace Hardwood Floors: Making the Right Choice
The decision between refinishing and replacing depends on cost, floor condition, and your goals. Refinishing preserves existing hardwood and typically costs less than full replacement. Replacement is necessary when damage is extensive or the wear layer is too thin to sand safely.
Consider refinishing when:
- Floors are structurally sound with no cupping or buckling
- Wear layer is adequate for sanding (at least 4.7 mm for solid, 2-4mm for engineered)
- Damage is limited to surface finish, scratches, or dull appearance
- You want to preserve original hardwood character and history
Consider replacement when:
- Structural damage, rot, or water damage is widespread
- Multiple past refinishes have reduced the wear layer below safe sanding depth
- Floors are severely cupped, buckled, or moving
- You want to change wood species or floor layout
At North American Hardwood, we assess your specific situation and recommend the option that delivers the best long-term value.
Common Mistakes to Avoid During Refinishing
Most DIY refinishing problems stem from a few preventable mistakes.
Skipping dust control is the most common error. Inadequate dust management can lead to respiratory issues and a compromised finish.
Rushing between coats leads to adhesion problems. Each coat must dry completely before sanding and applying the next. Patience is key.
Uneven stain application creates blotchy, unprofessional results. Always maintain a wet edge and work systematically.
Inadequate edge sanding leaves visible transitions between edged and main floor areas. Blend edges carefully and feather transitions smoothly.
Ignoring wood moisture causes cupping and finish failure. Use a moisture meter to ensure wood is within acceptable moisture content ranges before starting.
Over-sanding fine grits creates surface damage and poor finish adhesion. Use light pressure with fine grits; you're smoothing, not removing material.
When to Call a Professional
Refinishing is achievable for motivated homeowners, but professional work offers advantages that DIY often can't match.
Call a professional when:
- Your floor has complex damage patterns or water damage requiring expert assessment
- You lack confidence in equipment operation or technique
- Time constraints make a multi-week project impractical
- You want guaranteed results with warranty backing
- Dust sensitivity or allergies make containment critical
Professional refinishers bring specialized equipment, experience with diverse floor types, and accountability. Vacuum-assisted sanding systems used by professionals capture more dust than rental equipment typically does. For instance, companies like HomeStars list numerous certified flooring professionals.
At North American Hardwood, we handle refinishing projects with the precision and care that comes from 38 years of hands-on experience.
Research on environmental benefits of floor refinishing versus replacement shows that refinishing is the sustainable choice when your floor's structure supports it.
The choice between DIY and professional refinishing depends on your comfort level, timeline, and desired results.
Frequently Asked Questions
How do I know if my hardwood floors can be refinished?
Most solid hardwood floors can be refinished multiple times if the wear layer is thick enough. Engineered hardwood has a thinner veneer and may not tolerate refinishing. Check for cupping, buckling, or severe water damage; these may require replacement instead. A professional can assess your specific floor's condition and determine whether refinishing will restore it effectively.
How long does it take to refinish hardwood floors?
The hardwood floor refinishing process typically takes 5-10 days total. Sanding takes 1-3 days depending on floor size and condition. Staining (if chosen) adds 1 day. Finish application requires 1-2 days, with curing time of 3-7 days before the floor is fully hardened and ready for furniture and foot traffic. Climate and humidity affect drying time.
Can I refinish hardwood floors myself, or should I hire a professional?
DIY hardwood floor refinishing is possible for small areas or minor wear, but professional results require specialized sanding equipment, dust control systems, and finishing expertise. Mistakes in sanding can create uneven surfaces; improper stain application causes blotching. Many homeowners find professional refinishing worth the investment for large rooms or heavily damaged floors, especially when dust control and even finish application are priorities.
Is refinishing cheaper than replacing hardwood floors?
Refinishing typically costs significantly less than replacing hardwood floors. Refinishing restores the existing floor's finish and appearance without the labor and material costs of removal and new installation. Refinishing is most economical when the underlying wood is structurally sound and damage is limited to the surface finish.