 how-to
Repair Water Damaged Hardwood Boards: A Step-by-Step Guide
Table of Contents
- Immediate Steps After Water Damage to Hardwood Floors
- Identify and Stop the Water Source
- How to Dry Hardwood Floors After Water Damage
- Assess Damage: Repair vs. Replacement
- How to Fix Buckled Hardwood Floor and Other Warping Issues
- Replace Water-Damaged Hardwood Boards
- Refinish Water-Damaged Hardwood Floors
- When to Call a Professional
- Frequently Asked Questions
Last Updated: October 16, 2026
Immediate Steps After Water Damage to Hardwood Floors
When water reaches your hardwood floors and damages water damaged hardwood boards, the first few hours matter most. Stop the source, then remove standing water before it penetrates the wood and subfloor.
Here's what to do right now:
- Turn off water at the main valve if a pipe burst
- Move furniture and items off the floor immediately
- Use towels, mops, or a wet vacuum to remove standing water
- Open windows and doors to increase air circulation
- Turn on fans to push air across the wet surface
- If the leak came from above, check the ceiling and walls for additional damage
Do not delay. Water damage to hardwood boards worsens by the hour, wood swells as it absorbs moisture, and mold can begin growing within 24 to 48 hours.
The difference between a simple repair and a full replacement often comes down to how quickly you act.
Identify and Stop the Water Source
Finding the water source is critical, if you don't stop it, damage spreads and repairs won't hold.
Common water sources include:
- Burst pipes under the floor or in walls
- Leaking appliances like dishwashers, washing machines, or water heaters
- Roof leaks dripping through ceilings
- Flooding from outside or basement seepage
- Plumbing leaks in bathrooms or kitchens
- Condensation under the floor from high humidity
Trace the water path. Find the wettest spot; water flows downhill, so the damage pattern points back to the source. Check above the wet area, then below.
If you can't find the source, call a plumber, a hidden leak keeps damaging your floor even after you dry it out. Once stopped, repair the pipe, fix the appliance, or seal the roof leak before investing time in floor repair.
How to Dry Hardwood Floors After Water Damage
Drying is not optional, wet wood invites mold, rot, and structural damage.
Step 1: Remove moisture from the surface
Use towels or a wet vacuum to pull out as much water as possible, repeating until no more comes up.
Step 2: Set up air movement
Open all windows and doors and position box fans parallel to the boards.
Step 3: Use a dehumidifier
A portable dehumidifier pulls moisture from the air so the wood releases its water.
Step 4: Measure moisture, do not guess
This is where most DIY drying fails. A pin-type meter reads surface moisture; a pinless meter reads deeper.
- Baseline first. Before drying, record the moisture content of a dry board in another room. That number is your target.
- Track the wet area. Measure the same spots every 12 to 24 hours and write the numbers down. Progress matters more than any single reading.
- Target range. Most hardwood floors are stable at roughly 6 to 9 percent moisture content in typical indoor conditions. A common working target before sanding or reinstalling is within 2 percentage points of the dry baseline, and no higher than about 12 percent. Above 20 percent, the wood is still too wet to work.
- Check the subfloor too. A moisture meter pressed against the subfloor tells you whether the wood above is drying onto a wet base. If the subfloor is still wet, the floor will reabsorb moisture after you finish.
Step 5: Know when drying has stalled
If readings haven't dropped in 48 hours, something is feeding the moisture:
- A slow leak you have not fully stopped
- A wet subfloor or crawlspace below
- High ambient humidity with no dehumidifier running
- Airflow blocked by furniture, rugs, or plastic sheeting
Address the cause before continuing, drying over a wet subfloor is wasted effort.
How long it takes
Surface moisture can leave in a day or two; moisture inside the boards and subfloor typically takes 3 to 7 days, longer in humid conditions or with thick flooring.
Assess Damage: Repair vs. Replacement
Not every water damaged hardwood boards needs replacing.
Minor damage shows as surface stains or slight discoloration. The wood is still solid, sand and refinish.
Moderate damage includes cupping, slight warping, or soft spots. The wood may recover as it dries; some boards can be repaired, others replaced.
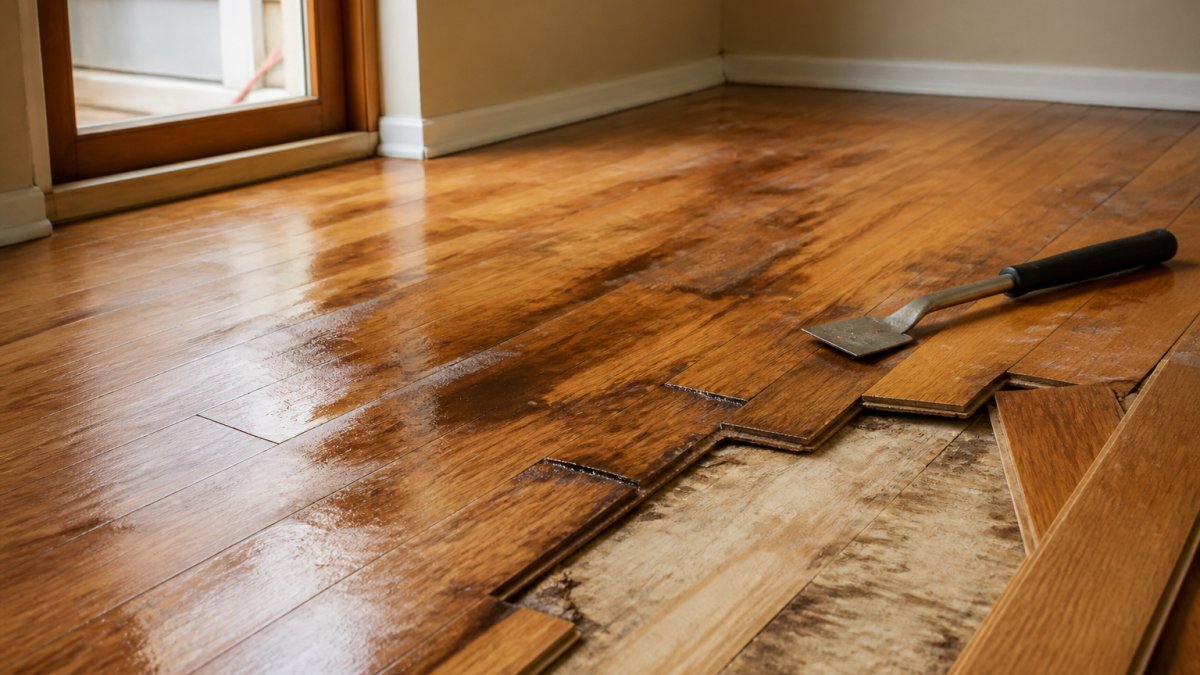
Severe damage means the wood is soft, spongy, or crumbling, and the subfloor may be damaged too. These boards must be replaced.
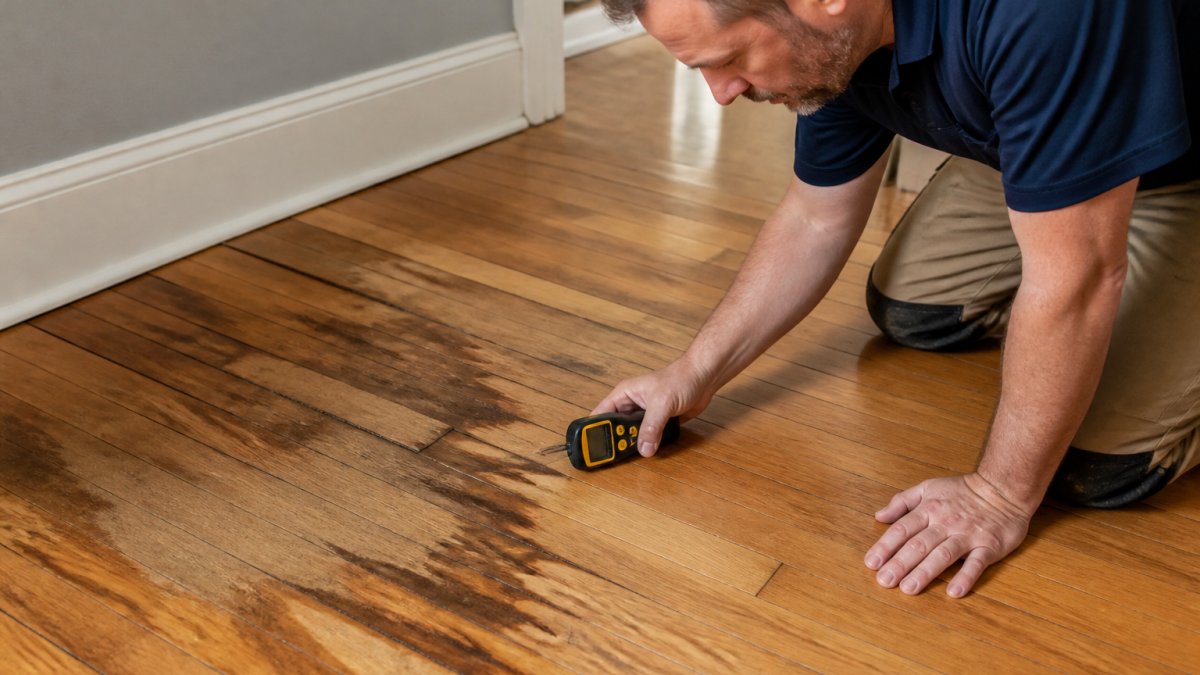
Use a moisture meter and a screwdriver to decide:
- Press a screwdriver into the wood. If it sinks easily, the wood is too soft and must be replaced.
- Check moisture levels. If the wood reads above 20%, it needs more drying time before repair.
- Look for mold. Black or green spots mean the wood is contaminated and should be replaced.
- Feel the surface. Sticky or slimy wood indicates rot and must go.
If only a few boards are damaged, replacement is practical; if most of the floor is affected, professional assessment helps.
How to Fix Buckled Hardwood Floor and Other Warping Issues
Cupping happens when the top surface absorbs more moisture than the bottom. The edges rise and the center sinks.
Buckling is more severe, the board lifts off the subfloor, creating a hump. Buckled boards rarely flatten completely and often need replacement.
Crowning is the opposite of cupping: the center rises and edges dip. Less common but equally problematic.
What to do:
If the floor is still wet, finish drying first. Many warped boards flatten as moisture leaves. Wait until moisture levels drop to 12-15%.
Once dry, check again: if cupping has flattened, sand lightly and refinish; if buckling or severe cupping remains, replace the affected boards.
Do not nail down buckled boards. This forces them flat temporarily but traps moisture underneath.
Replace Water-Damaged Hardwood Boards
Before you cut anything
- Confirm the floor is dry. If moisture readings are still above your dry baseline, finish drying first.
- Identify the board species, width, and thickness. Bring a cut sample or photo to a flooring supplier, the wrong thickness will sit proud or low no matter how well you install it.
- Note the finish. Site-finished floors can be blended by sanding and refinishing the surrounding area; factory-finished floors may need a matching prefinished board or a small refinishing patch.
- Buy at least one extra board. Cutting and fitting rarely goes perfectly the first time.
Tools you'll need
- Circular saw or oscillating multi-tool
- Reciprocating saw (for stubborn sections)
- Pry bar or flat crowbar
- Hammer and a wood block
- Chisel (for cleaning out old adhesive and trimming tongues)
- Measuring tape and a pencil
- Replacement boards matching species, width, and thickness
- Wood adhesive (polyurethane or moisture-resistant construction adhesive)
- Finishing nails or a pneumatic nailer
- Sandpaper (80, 120, and 150 grit)
- Stain and finish to match the existing floor
Step 1: Remove the damaged board
Cut the board lengthwise down the middle with a circular saw set to a shallow depth, enough to cut the board, not the subfloor.
Step 2: Clean the subfloor
Scrape away old adhesive, staples, and debris; the subfloor must be clean and dry.
Step 3: Prepare the replacement board
Measure carefully, the new board should fit snugly without forcing. If the damaged section spans multiple boards, cut several pieces to length.
Step 4: Install the new board
Apply wood adhesive to the subfloor and to the grooves of adjacent boards.
Step 5: Sand and finish
Once the adhesive dries (usually 24 hours), sand the new board flush with surrounding boards, starting with 80-grit and progressing to 150-grit.
Refinish Water-Damaged Hardwood Floors
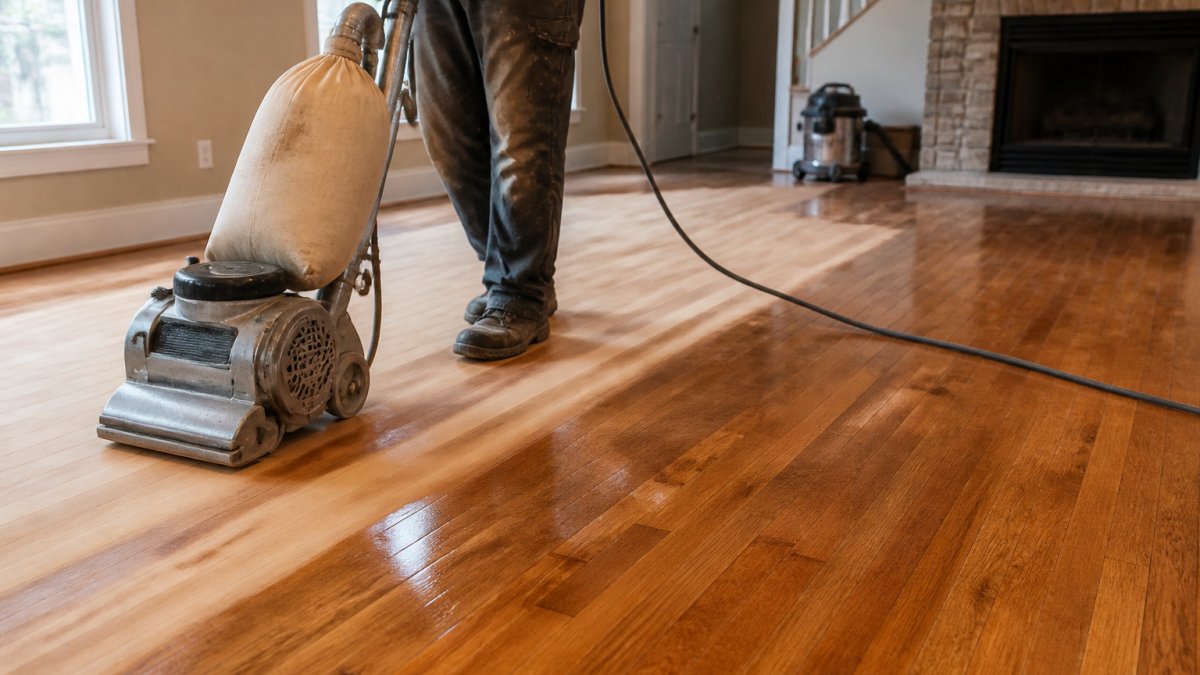
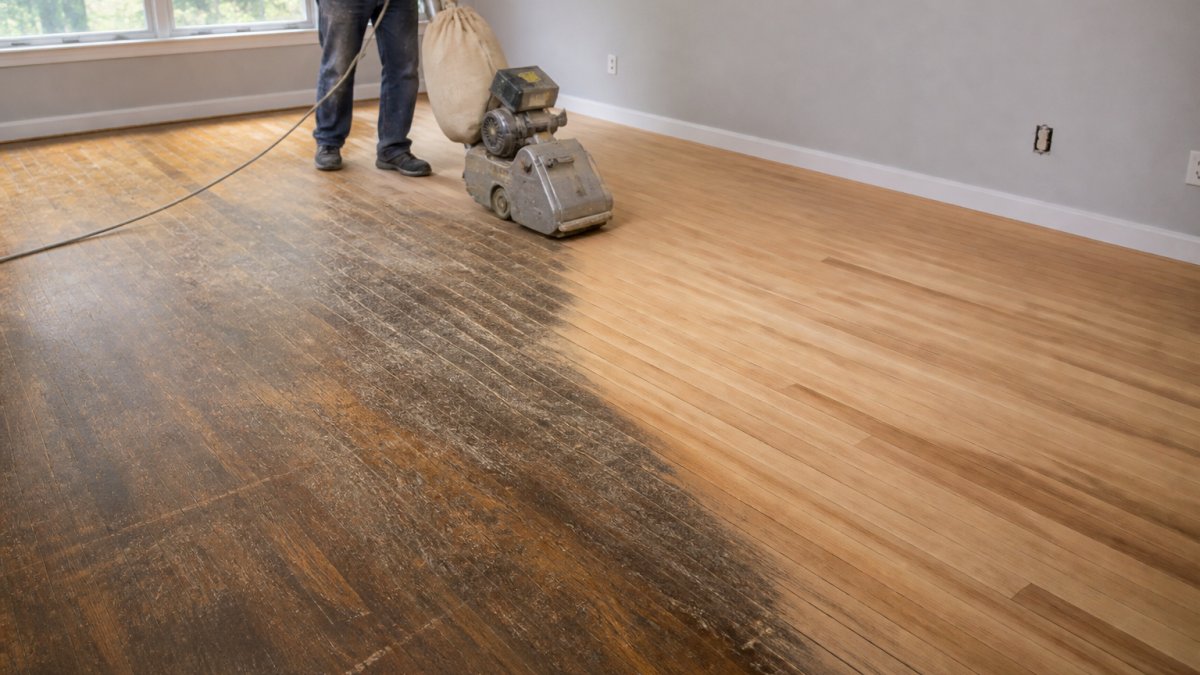
After repairs and drying, refinishing restores the appearance and protects the wood from future damage. Light surface damage often requires only sanding and refinishing; deep stains or discoloration may need stain before sealing.
The refinishing process:
- Sand the entire affected area with 80-grit sandpaper to remove stains and rough spots
- Progress to 120-grit, then 150-grit for a smooth surface
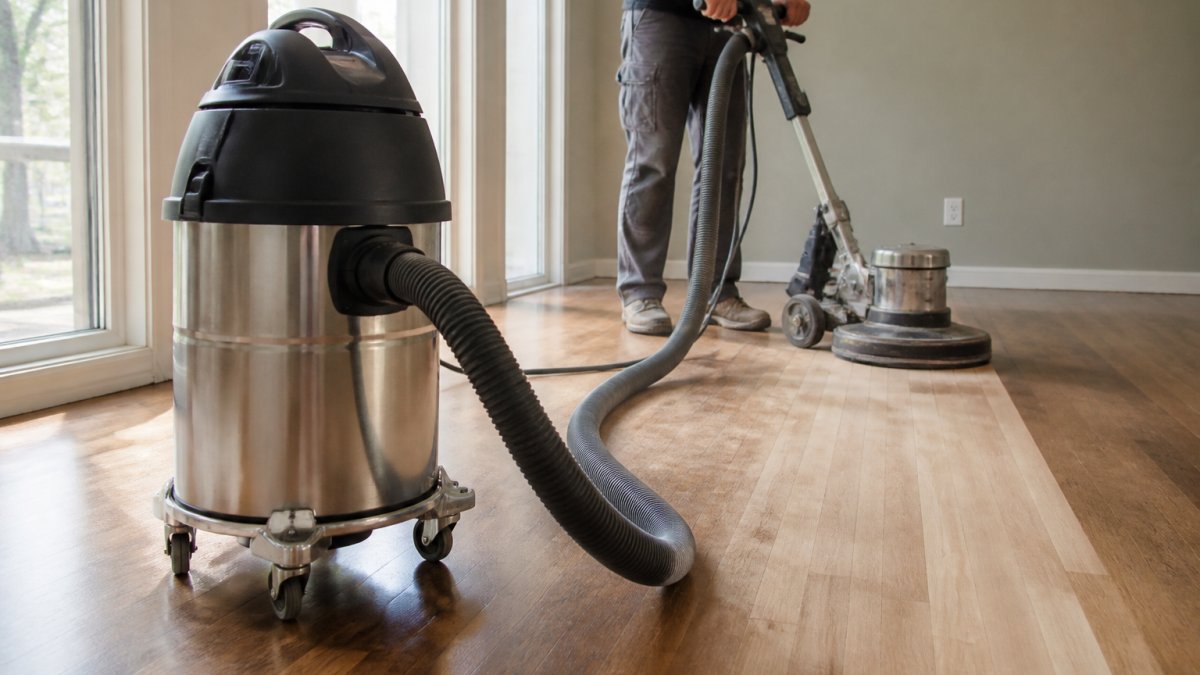
- Vacuum all dust thoroughly
- Apply wood stain if color correction is needed
- Apply polyurethane or water-based finish in 2-3 coats, sanding lightly between coats
Vacuum-assisted sanding controls dust and keeps your home cleaner, especially if anyone in your household has allergies or respiratory sensitivity. Drying time between coats matters, follow the product instructions carefully, since rushing leads to poor adhesion and premature finish failure.
When to Call a Professional
Some water damage is beyond DIY repair. Knowing when to call for help saves time and money.
Call a professional if:
- Water damage covers a large area (more than a few boards)
- The subfloor is damaged or soft
- Mold is present or suspected
- Moisture levels won't drop below 15% after drying
- You're unsure whether boards can be repaired or must be replaced
- The floor has valuable or rare hardwood species
- Tongue-and-groove joints are split or damaged
- The original finish is a specialty product you can't match
Professional assessment is also wise after multiple water events, a specialist can identify moisture sources you might miss and recommend prevention measures.
At North American Hardwood, we handle water-damaged hardwood boards with care. With 38 years of hands-on experience, we assess each situation individually and recommend repair or replacement based on what will last longest and look best. We prioritize restoring your existing floor whenever possible, which often costs less than full replacement and preserves the character of your home.
Frequently Asked Questions
Can water-damaged hardwood boards be repaired, or do they need to be replaced?
It depends on severity and moisture levels. Minor water stains and slight swelling can often be addressed through drying, sanding, and refinishing. However, if boards show deep discoloration, persistent buckling after drying, soft spots, or mold growth, replacement is usually necessary. A moisture meter reading above 20% typically indicates replacement is safer. Professional assessment helps determine whether repair or replacement best preserves your floor's longevity.
How long does it take for water-damaged hardwood flooring to dry?
Drying timelines vary based on moisture depth and humidity. Surface moisture may dry in 24-48 hours with proper ventilation, but moisture that has penetrated the subfloor can take 2-4 weeks or longer. Use a moisture meter to track progress; boards are ready for refinishing when readings drop below 12%. Rushing this process risks mold growth and incomplete drying, which can lead to cupping or warping later.
What should you do immediately after discovering water damage on hardwood floors?
First, stop the water source to prevent further damage. Remove standing water using a wet/dry vacuum or mop. Increase air circulation by opening windows and running fans and dehumidifiers. Avoid walking on wet boards to prevent further damage. Check the subfloor for moisture and damage. If the leak came from contaminated sources (sewage, saltwater), treat the area as a biohazard and contact a professional. Document damage with photos for insurance purposes.
When should you call a hardwood floor repair professional?
Contact a professional if water damage covers a large area, moisture readings remain elevated after 2-3 weeks of drying, boards show mold or soft spots, the leak source was contaminated water, or if you're unsure whether boards can be salvaged. Professionals have moisture-detection equipment, can assess subfloor damage, and handle complex replacements or refinishing that require matching grain and stain. Early professional intervention often prevents costlier repairs down the line.
Water damage to hardwood floors is stressful, but many situations can be repaired. The key is acting fast to stop the water, drying thoroughly, and assessing damage honestly before deciding on repair or replacement. If you're dealing with water-damaged hardwood boards and want professional guidance, request an estimate from North American Hardwood. We'll evaluate your floor and recommend the best path forward.