 how-to
How to Repair Hardwood Floors in Saskatoon Step by Step
Quick Summary
Hardwood floor repair starts with identifying the damage, since a surface scratch, a deep gouge and water damage each need a different fix. Shallow marks in the finish can often be touched up with a marker or wax stick, while torn wood needs filler or board replacement and water damage must be dried out before any repair.
- Run your fingernail across the mark: if it catches, the damage has gone into the wood.
- Cupped boards, soft spots, dark stains and a hollow sound all signal water damage.
- Fix any active moisture source before repairing the floor, or the repair will fail.
- Test any repair color in an inconspicuous spot before applying it to a visible area.
- Replacing a single board works best when matching stock is still available.
Table of Contents
- Diagnose the Damage Before You Pick a Repair
- Hardwood Floor Scratch Repair You Can Do Yourself
- Hardwood Floor Water Damage Repair: Isolating and Fixing the Affected Area
- Hardwood Floorboard Replacement Step by Step
- Repair Versus Refinish: Choosing the Right Approach for Your Floor
- What Hardwood Floor Repair Costs in Saskatchewan
- Book a Hardwood Floor Assessment With North American Hardwood
- Frequently Asked Questions
Diagnose the Damage Before You Pick a Repair
Last Updated: November 2, 2026
Hardwood floor repair starts with a simple question: what kind of damage are you dealing with? A scuff in the top finish needs a very different fix than a board that has swelled, cupped or gone soft from water. Get the diagnosis wrong and you can make the problem worse.
Surface Scratches Versus Deep Gouges
Run your fingernail across the mark. If the nail catches, the damage has likely gone through the finish and into the wood.
Deep gouges often look worse than they are.
A repair kit is best suited to small, shallow marks. Anything deep enough to expose bare wood will show through a marker or wax unless it is filled properly first.
Signs of Water Damage in Hardwood
Water damage is often the most expensive to ignore. Look for these warning signs:
- Dark stains or rings that do not wipe away
- Boards that have cupped, meaning the edges sit higher than the centre
- Gaps that open up between boards after a leak
Water also travels. A leak in one corner can affect boards several feet away, so check the area around the visible damage. Fix any active moisture source before you touch the floor, or the repair will fail as soon as the wood cycles again.
Hardwood Floor Scratch Repair You Can Do Yourself
The method depends on whether the mark is in the finish, in the wood, or both, and on your floor's finish type.
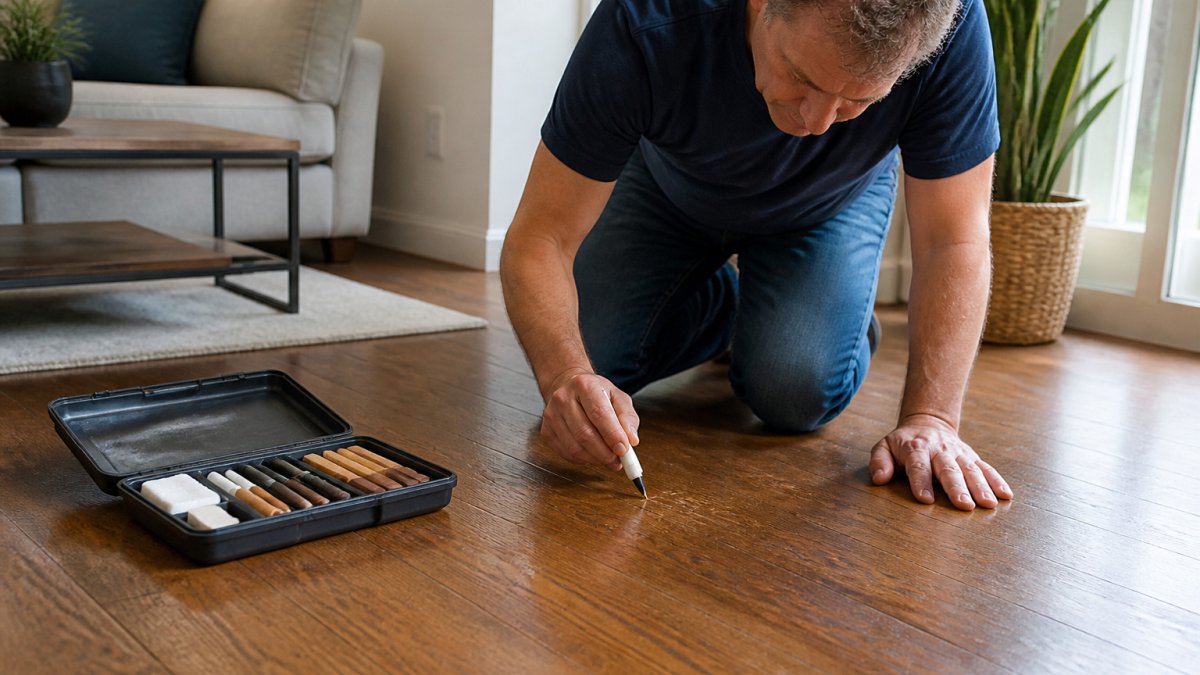
First, Identify the Finish
Before you touch a scratch, know what you are working on. Polyurethane and other film finishes sit on top of the wood and can often be spot-repaired or recoated. Penetrating oils and hardwax oils soak into the wood and are repaired by reapplying oil rather than building a film. If unsure, test in a closet or under furniture.
Scratches in the Finish Only
If your fingernail glides across the mark without catching, the scratch is likely in the topcoat.
- Clean the area with a damp cloth and let it dry fully; dust and wax residue prevent repair products from adhering.
- Match the product to the finish: a touch-up marker or wax stick for color, or a fine abrasive and polish for light scuffing in a film finish.
- Test the color in an inconspicuous spot first; a color that looks right in the package can read darker or lighter once it sets.
- Apply in thin layers, letting each cure before adding more, since thick filler shrinks and leaves a ridge.
- Buff gently with a soft cloth and check the sheen in raking light.
Deep Gouges and Torn Wood
If the nail catches, the damage has gone into the wood. Compressed fibres can sometimes be lifted with a damp cloth and gentle heat, but torn or missing wood needs filler or board replacement.
- Filler: Use a wood filler matched to the floor color, applied in thin layers and sanded level once cured. Filler suits small, contained gouges; it does not move with the wood the way a board does.
- Board replacement: If the gouge is large or the board is split, replacing the board is the durable fix.
Dents
Dents are compressed wood fibers, not missing wood. Place a damp cloth over the dent and apply gentle heat with an iron, checking frequently, so the fibers swell back toward level. This works best on fresh dents in unfinished or lightly finished wood; it is less reliable on old, sealed dents.
Gaps Between Boards
Gaps are often seasonal: in dry winter air with indoor heating running, wood shrinks and opens gaps at board edges, and many close on their own when indoor humidity rises. Check whether the gap is stable across seasons, because a rigid filler can crack or push out when the boards move back. For small, stable gaps, use a color-matched flexible filler; for larger or moving gaps, humidity control is often the better fix.
Water Stains and Rings
White rings and dark stains are different problems. Light white rings in the finish can sometimes be reduced with a gentle abrasive and polish. Dark stains usually mean moisture has reached the wood and may require sanding and refinishing. If the stain comes with cupping, soft spots, or a hollow sound, address the moisture source first; cosmetic repair over active moisture will fail.
Loose Boards and Squeaks
A squeak is often a board moving against a fastener or subfloor. Face-nailing or screwing through the finished surface leaves a visible plug, so this is often a job for a contractor who can match the repair to the floor's installation method.
Pet Damage
Pet urine can stain and soften wood and may penetrate seams into the subfloor. If the wood is soft or the odor persists, affected boards often need removal and replacement, and the subfloor should be checked for contamination. Treat pet damage as a water-damage-adjacent problem, not a surface scratch.
Tools, Safety, and Dust Control
- Sanders: A random-orbit sander is more forgiving than a belt sander for spot work. Keep the pad flat and moving to avoid gouging.
- Dust: Sanding creates fine dust. Use a vacuum-assisted sander or a shop vacuum with a fine filter, and seal off the work area.
- Ventilation and PPE: Wear eye protection and a dust mask, and ventilate the room when using finishes and solvents.
Hardwood Floor Water Damage Repair: Isolating and Fixing the Affected Area
Water-damaged boards need a more careful approach than surface scratches.
Once the area is dry, mark the boundaries of the damaged section and work with the smallest area you can.
Cutting into a subfloor or a neighbouring board can turn a small repair into a major one.
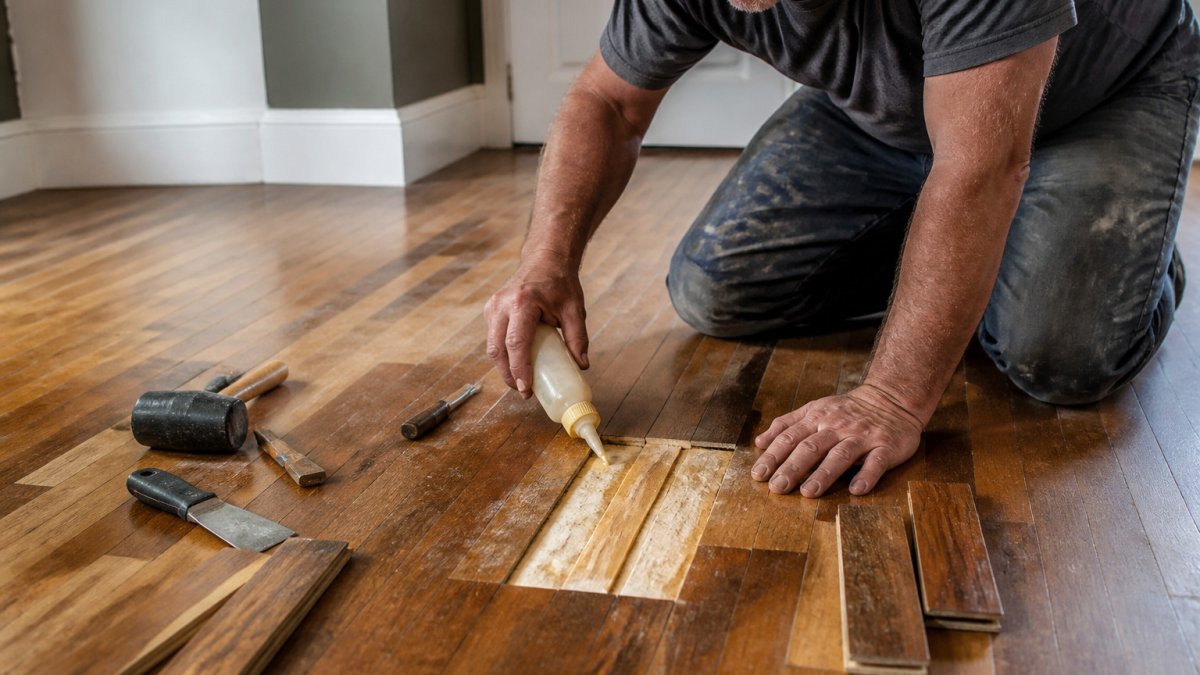
Fit the replacement boards, check that they sit level, then fasten and finish them to match the surrounding floor.
Hardwood Floorboard Replacement Step by Step
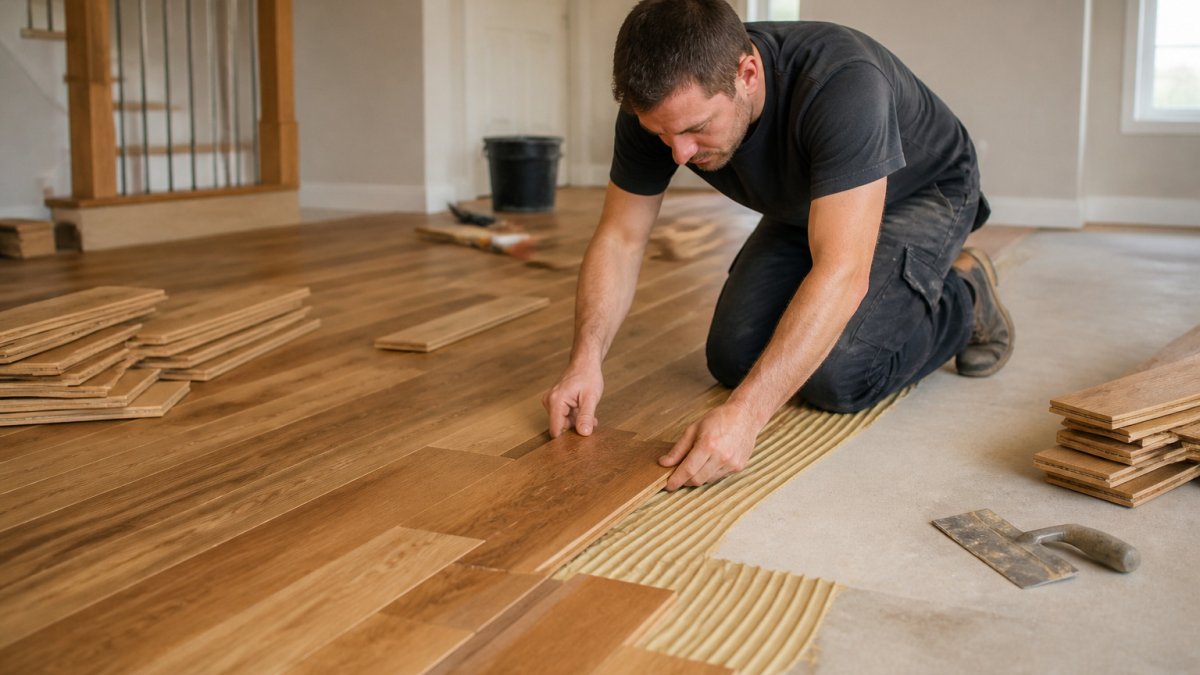
Replacing a single board is a manageable job when the damage is contained to one or two pieces. The sequence is straightforward:
- Mark the board and cut it out, as described in the water damage section above
- Remove the old board and clean any adhesive or debris from the subfloor
- Test-fit the new board, trimming the length or edges as needed
- Apply adhesive or fasteners according to the floor's installation method
- Set the board firmly and allow it to cure before walking on it
- Sand the joins lightly and finish the area to match
Allow the adhesive full cure time before stressing the new board. Walking on it too soon can shift it out of line and leave a gap that is difficult to fix later.
Plan the job so you have enough matching material on hand. A board that has been discontinued or sized differently can leave you with a patch that never blends in.
Repair Versus Refinish: Choosing the Right Approach for Your Floor
Deciding between a targeted repair and a full refinish comes down to how much of the floor is affected. You can compare the two approaches side by side in repair versus refinish options.
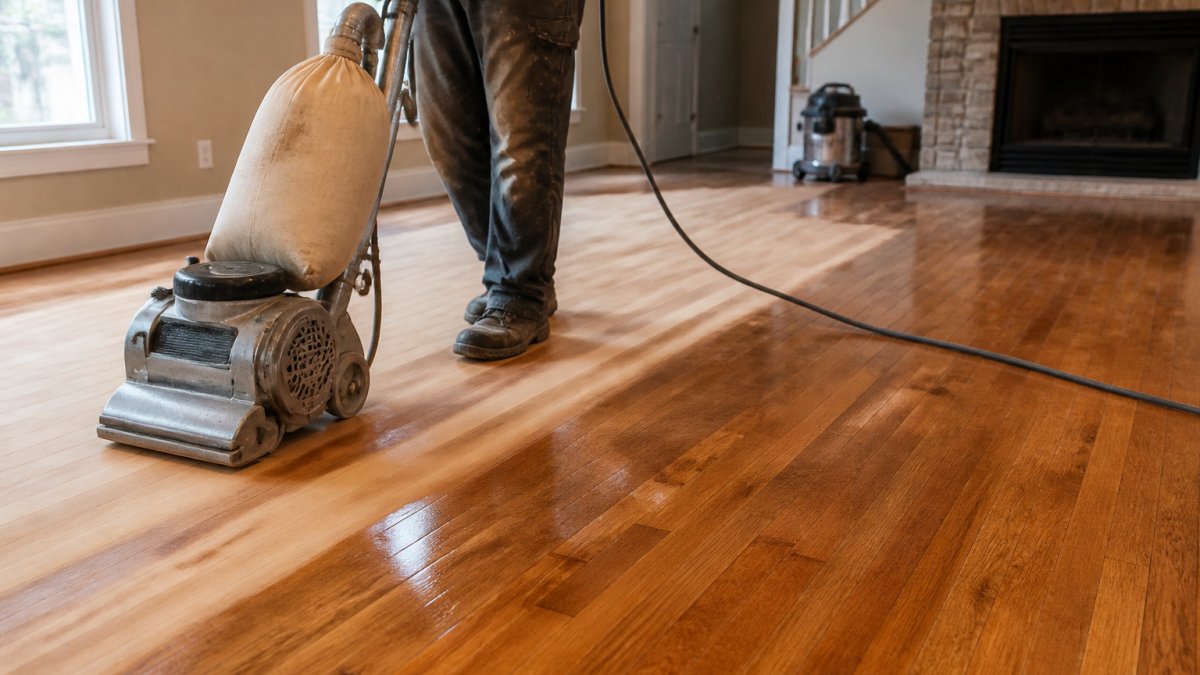
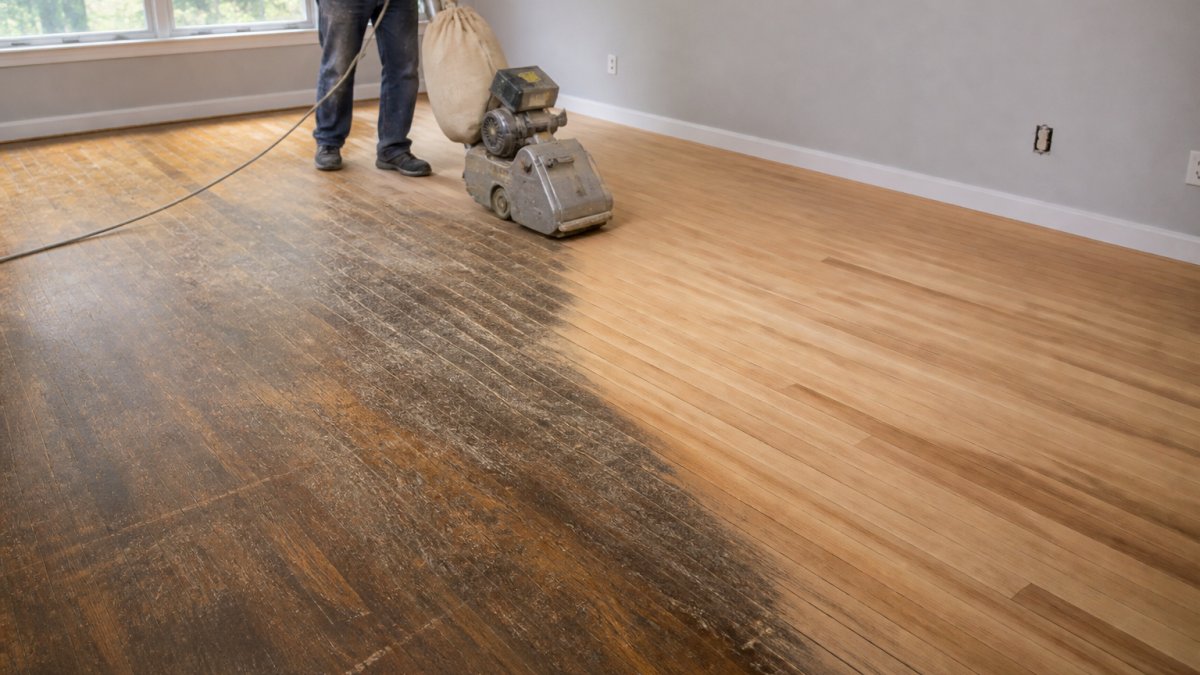
Refinishing removes the old finish, sands the wood, and applies a new coat, taking the floor back to a uniform look that spot repairs cannot always achieve.
A useful test is to look at the floor in raking light, with a lamp held low across the surface.
At North American Hardwood, we restore the floor you already have where possible rather than default to replacement.
The right approach depends on how much of the floor is affected, as summarised below.
| Situation | Best approach | Why |
|---|---|---|
| Damage limited to a few boards or marks | Repair | Keeps the rest of the original finish and costs less |
| Finish worn across the whole room | Refinish | Restores a uniform look that spot repairs often cannot match |
| Damage clusters around one area | Repair | Localized damage is usually the right call |
| Floor looks dull everywhere | Refinish | Gives an even surface across the room |
What Hardwood Floor Repair Costs in Saskatchewan
A localized repair is priced very differently from a full refinish. Pricing depends on the scope of the work, so the breakdown below covers what drives cost for hardwood floor repair.
The Main Cost Drivers
- Scope of damage. A single scratched board is a small job. A water-damaged section that requires cutting out several boards, drying the subfloor, and blending a patch is a different category of work.
- Matching material. If the species, width, and finish are still available, replacement boards are inexpensive. If the floor is discontinued or a custom mill run, sourcing matching stock can add significant cost and time.
- Finish type. A spot repair blended into a polyurethane finish requires sanding and recoating a larger area to avoid a visible halo. A hardwax oil finish can sometimes be spot-repaired more locally.
Typical Ranges to Expect
These are planning ranges, not quotes. For a fuller breakdown of refinishing versus replacement costs, see our cost guide. Actual pricing depends on the assessment.
- DIY scratch and dent kits: $15 to $60 for a marker, wax stick, or filler kit. The trade-off is color match and durability; kits work best on shallow marks in the topcoat.
- Single-board replacement (professional): commonly in the low hundreds of dollars per board when matching stock is on hand, rising when boards must be sourced or the finish blended across a larger area.
- Localized section repair (several boards, water damage, or a seam failure): priced by the scope of the cut-out and finishing required, often in the several-hundred-dollar range for a small area.
What Changes the Estimate
- Square footage and room count. The size of the area affects the scope of the work.
- Stain and color matching. Blending a repair on a stained floor requires test panels and careful tinting, which adds labor.
- Scheduling and season. In dry winter conditions, wood gaps and movement can affect repair timing; a contractor may recommend waiting for stable indoor humidity before cutting and fitting boards.
Comparing Quotes Fairly
A low figure that excludes sanding, finishing, or moisture testing is not comparable to a complete quote. Ask each contractor what is included, whether the price covers blending the finish beyond the repaired boards, and the cure time before the floor can be walked on or furniture replaced. Pricing depends on your floor's condition, so request an assessment and a quote from North American Hardwood's website.
Book a Hardwood Floor Assessment With North American Hardwood
If the damage is more than a scratch or two, an assessment is the fastest way to find out what your floor needs. Before booking, you can read our guide on how to choose a local hardwood floor specialist.
Our repair work restores existing hardwood instead of defaulting to replacement, and our vacuum-assisted sanding helps control dust during refinishing.
Frequently Asked Questions
Can scratched hardwood floors be repaired without refinishing?
Yes, in many cases. Shallow scratches that only cut through the finish can often be concealed with a matching stain marker, a wax-based filler stick or a light buff with a fine abrasive pad and a compatible topcoat. Deeper gouges that reach bare wood usually need filler and spot finishing. If scratches cover most of a room, spot repair will rarely blend, and a full sand and recoat becomes the more reliable option. Test any product on an inconspicuous board first, since color match is the main reason home repairs look patchy.
How do you repair a damaged hardwood floorboard?
Start by confirming the damage is limited to one or two boards. Mark the boards, then score the surface and cut out the damaged section with a multi-tool or chisel, keeping the cut inside the seam lines. Remove the old board carefully, clean the subfloor and fit a replacement board that matches the species, width and thickness. Secure it to the subfloor, fill the gaps with a matching filler, then sand the repair flush and apply finish that blends with the surrounding floor.
Can water-damaged hardwood floors be repaired?
Often, yes, but only if the water was removed quickly and the boards have not cupped, warped or started to rot. Dry the area promptly, check the subfloor for moisture and address the source of the leak first. Boards that have swelled and stayed raised after drying may flatten, but boards that remain distorted or show black staining usually need replacement. Repairing only the affected area can leave a visible colour difference, so matching the finish carefully matters.
Should I repair or replace my hardwood floor boards?
Repair is the better choice when damage is localized, the wood is solid and the floor has enough remaining wear layer to be sanded if needed. Replacement makes more sense when many boards are rotted, the subfloor is compromised or the species is no longer available. A professional assessment can compare the options and show whether a partial repair will blend with the rest of the floor.
Hardwood floors respond well to careful diagnosis and the right repair method. Start with the damage, match your approach to what you find, and bring in professional help when the job goes beyond a DIY fix.