 how-to
What Does Hardwood Floor Installation Cost in Saskatoon?
Last Updated: October 30, 2026
Quick Summary
Hardwood floor installation in Saskatoon has no single fixed price, because cost depends on floor area, board type, subfloor condition, and scope of work. The only reliable figure comes from a written estimate after an on-site inspection. Material, subfloor preparation, removal, labor, finishing, and trim are the main cost buckets.
- Ask each contractor to quote the same scope in writing for fair comparison.
- Subfloor preparation and removal are the two most common omissions in low bids.
- Stairs, herringbone layouts, wide boards, and concrete subfloors push costs higher.
- Plan for acclimation and subfloor prep, not just installation days, when scheduling.
- Repair is often better than full replacement when wear is only on the surface.
Table of Contents
- What Hardwood Floor Installation Involves Today
- Hardwood Floor Installation Cost: What Drives the Price
- Solid, Engineered, and Alternative Flooring Choices
- Hardwood Floor Installation Timeline From Start to Finish
- How to Prepare for Hardwood Floor Installation
- Hardwood Floor Repair vs. Replacement: Which Makes Sense
- Booking Your Hardwood Installation Estimate With North American Hardwood
- Frequently Asked Questions
What Hardwood Floor Installation Involves Today
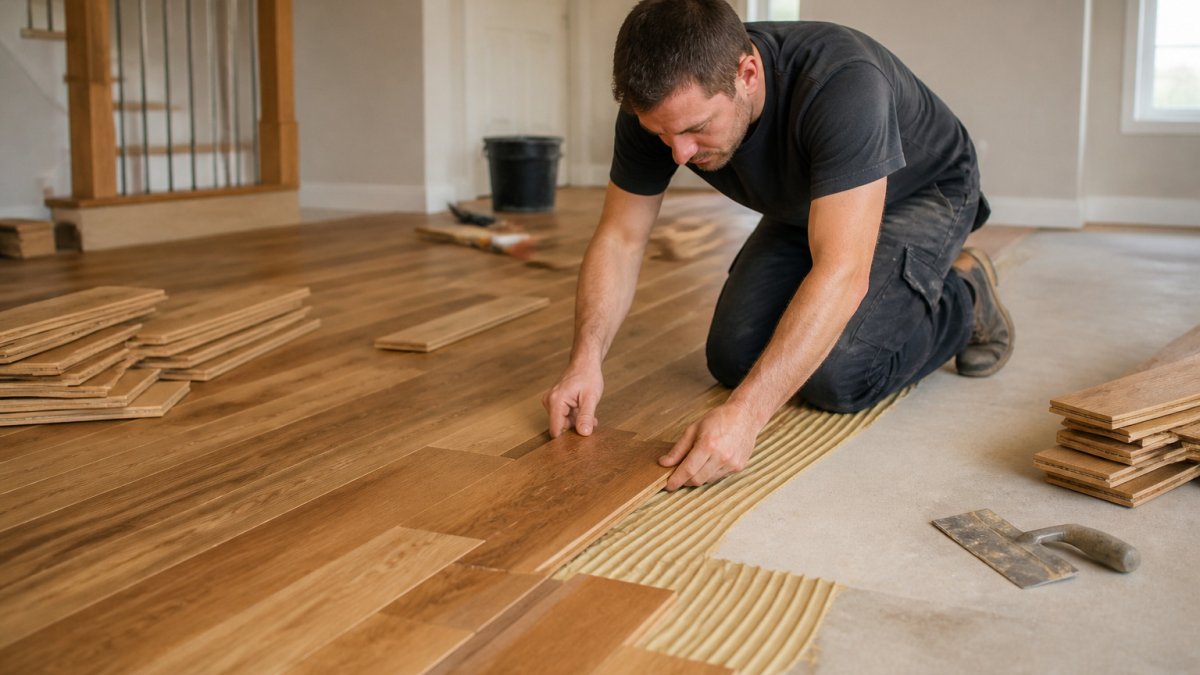
Hardwood floor installation is the process of laying solid or engineered wood boards over a prepared subfloor, then sanding, staining, and finishing them on site or pre-finishing them off site. For most Saskatoon homeowners, the work covers a new room, a renovation, or a new build, and it usually takes longer than people expect. See the complete installation guide for each stage in more depth.
Installation methods such as nail-down, glue-down, and floating are chosen based on the subfloor and the board type. A good installer starts with the floor underneath, not the boards on top. Checking levelness, moisture, and the condition of the subfloor is often where a clean job separates from a costly one.
At North American Hardwood, owner Rick Trischuk oversees each project personally, drawing on 38 years of hands-on experience. The company focuses exclusively on hardwood flooring.
Hardwood Floor Installation Cost: What Drives the Price
Most service pages say "prices vary" and stop there. This section breaks the cost into its components so you can sanity-check a quote and compare bids on equal terms.
The Main Cost Buckets
- Materials: solid or engineered boards, underlayment, transitions, and a waste allowance (commonly 5 to 10 percent for straight layouts, more for diagonal or herringbone).
- Subfloor preparation: leveling compound, patching, plywood underlayment over concrete, vapor retarder, and labor to screw down or replace damaged panels.
- Removal and disposal: tearing out the old floor, hauling it away, and any dump fees.
- Installation labor: varies by board width and layout complexity.
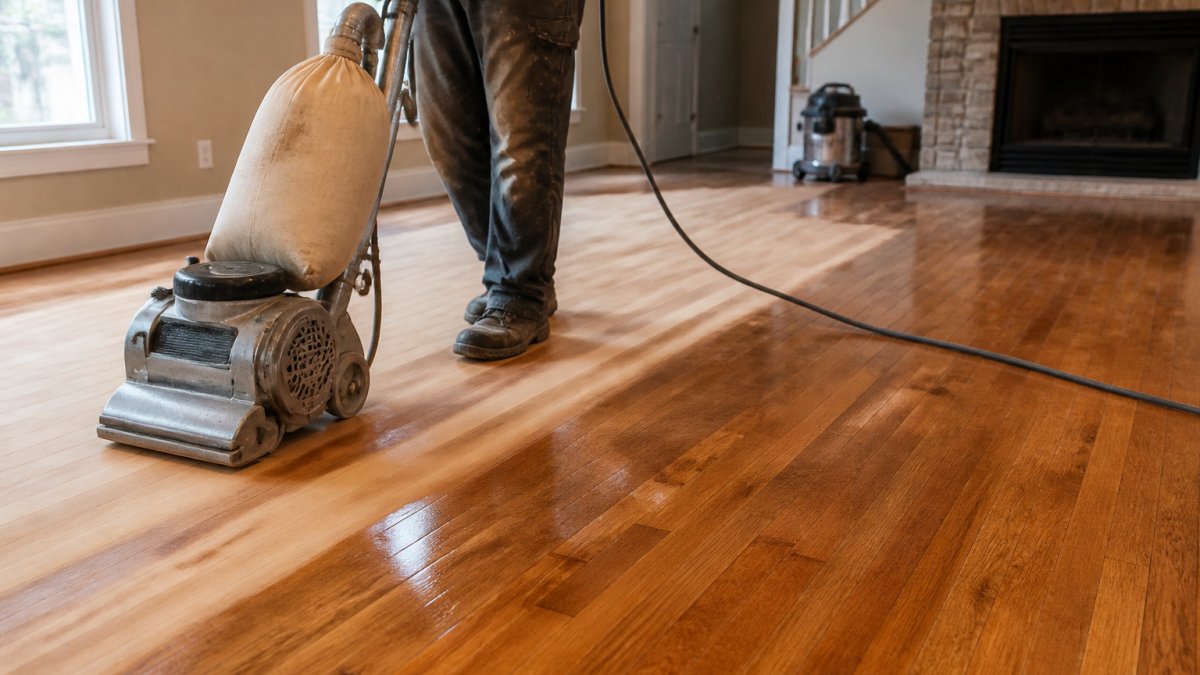
- Finishing: sanding and finish coats, where the floor is finished on site.
- Trim and transitions: baseboard removal and reinstallation, shoe molding, stair nosings, and threshold pieces.
Typical Planning Ranges
Pricing depends on floor area, species, board width, subfloor condition, and the scope of the work, so the only reliable figure comes from a written estimate after an on-site inspection. Site-finished floors add sanding and finishing work on top of the board and installation cost.
How the Quote Should Be Structured
A quote you can compare fairly usually separates:
- Square footage measured and the waste allowance
- Board product, species, width, and grade
- Subfloor prep scope (leveling, patching, underlayment, moisture mitigation)
- Removal and disposal
- Installation method and labor
- Finishing coats and products, if applicable
- Trim, transitions, and stairs
- Warranty terms and cleanup
If a bid is dramatically lower than the others, check which of these lines is missing. Subfloor prep and removal are the two most common omissions, and both are expensive to add later.
What Pushes a Project Above the Range
- Stairs and railings: each step and riser is priced individually because of the cutting and fitting.
- Herringbone, chevron, or bordered layouts: more cuts, more waste, more labor.
- Wide or long boards: more handling, more waste, and sometimes a higher grade requirement.
- Concrete subfloors: moisture testing, vapor retarder, and often a plywood or membrane underlayment.
- Water damage or previous floor failures: removal of failed material and possible subfloor replacement.
- Occupied homes: moving furniture, protecting adjacent rooms, and working around a household schedule.
Pricing depends on the scope of your project, so request a written estimate for an accurate figure.
The article breaks the cost into components, and the table below summarises the main cost buckets it names.
| Cost bucket | What it covers | Note |
|---|---|---|
| Materials | Boards, underlayment, transitions, waste | Waste commonly 5 to 10 percent for straight layouts |
| Subfloor preparation | Leveling, patching, underlayment, vapor retarder | Often the omitted line in cheap bids |
| Removal and disposal | Tear-out, hauling, dump fees | Check whether the quote includes it |
| Installation labor | Laying the boards | Varies by board width and layout |
| Finishing | Sanding and finish coats | Applies to site-finished floors |
| Trim and transitions | Baseboards, shoe molding, stair nosings | Stairs priced individually |
Solid, Engineered, and Alternative Flooring Choices
Solid hardwood is a single piece of timber. It can be sanded and refinished several times over its life, which makes it a strong choice for long-term homes. It is also more sensitive to moisture and seasonal swelling.
Engineered hardwood has a real wood top layer bonded to a stable core. It handles humidity changes better and is often the right pick for basements or rooms with radiant heat. The wear layer is thinner, so refinishing options are more limited.
Alternative flooring, such as laminate, luxury vinyl, or tile, can suit some rooms, but it does not offer the same look or resale appeal as real wood. A common mistake is choosing alternative flooring for its low price without checking how it will look beside the hardwood in adjoining rooms.
Hardwood Floor Installation Timeline From Start to Finish
Most top-ranking pages for this service stop at "we install, sand, and finish." A realistic timeline is where a homeowner actually plans a project, so this section walks through each stage with the mechanisms and waiting periods that drive the schedule.
For a typical single room of roughly 200 to 300 square feet, plan on three to five working days on site once materials arrive, plus acclimation time before work begins. Larger open-plan areas, stairs, and herringbone or chevron patterns add days because every cut and transition takes longer.
Stage 1: Site Visit and Written Estimate (Day 0)
The installer measures the space, checks subfloor flatness and moisture, and notes transitions, door clearances, and any radiators or vents. A written quote should follow within a few business days. Ask whether the quote includes subfloor prep, removal, and finishing, because those are the line items most often left out.
Stage 2: Material Delivery and Acclimation (3 to 7+ Days)
Solid wood generally needs to acclimate in the home before installation, and the wait depends on the species, board width, and the difference between storage and indoor humidity.
Stage 3: Subfloor Inspection and Preparation (1 to 2 Days)
This is the stage homeowners underestimate. Subfloor preparation is an important stage before any board is laid, and it is where the subfloor's condition should be checked closely.
Stage 4: Installation (1 to 3 Days)
The installer lays the first course straight, racks boards for color and grain variation, and cuts around vents, door jambs, and transitions. Expect the room to be unusable during this stage.
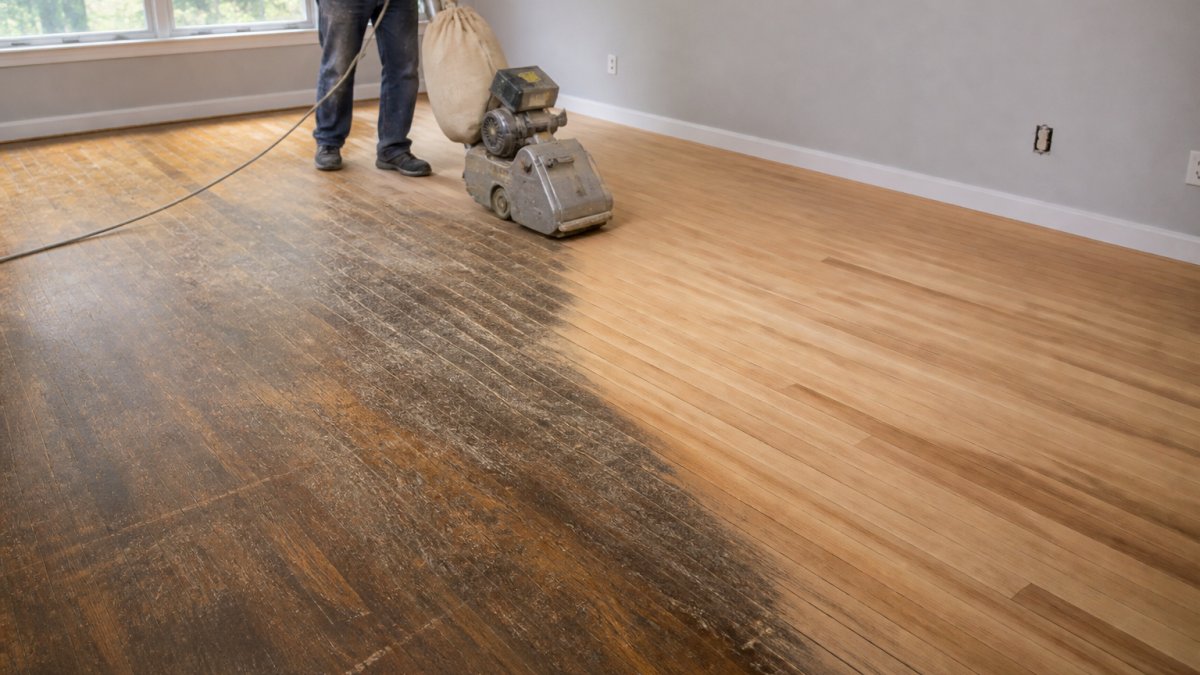
Stage 5: Sanding, Staining, and Finishing (2 to 4 Days)
Site-finished floors are sanded and finished on site, and the number of finish coats affects the schedule.
Stage 6: Cleanup and Walkthrough (Same Day)
A walkthrough to review the completed work. Ask for maintenance and full-cure guidance in writing.
How to Prepare for Hardwood Floor Installation
Good preparation makes installation go more smoothly. Clear the room of furniture, rugs, and fixtures before the work begins, and have the subfloor checked for squeaks, soft spots, or moisture stains, which should be addressed before new boards go down.
Hardwood Floor Repair vs. Replacement: Which Makes Sense
Replacing a whole floor is often unnecessary. Scratches, dullness, and localized damage can frequently be addressed through refinishing or by replacing only the affected boards.
Repair is usually the better choice when the wear is on the surface and the boards are still solid. Water-damaged boards can often be assessed for repair before you decide to replace them.
Replacement makes more sense when damage runs deep, boards are cracked through, or large areas are affected. Compare refinishing and replacement costs before deciding. In those cases, the cost of repairing many boards can approach the cost of new flooring. Ask for an honest assessment before choosing.
For a clear picture of the options, an on-site inspection is the most reliable first step.
Booking Your Hardwood Installation Estimate With North American Hardwood
If you are planning a new installation, a renovation, or a repair in Saskatoon, the next step is an estimate. Request a quote for your project through North American Hardwood's website.
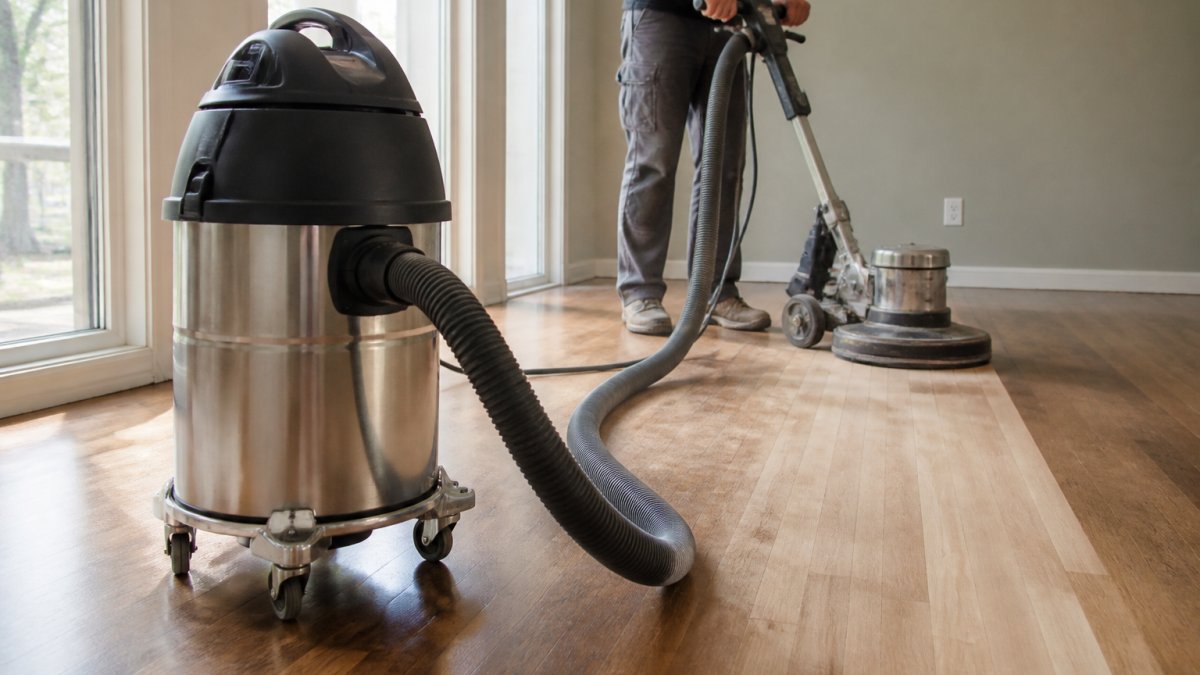
Request an estimate through the company website, and describe the room, the floor type, and any damage you have noticed. See how dust-free refinishing works before you book.
Frequently Asked Questions
How much does hardwood floor installation cost?
Hardwood floor installation pricing depends on floor area, the species and grade of wood, subfloor condition, removal of old flooring, and the layout of the room. The most reliable figure comes from a written estimate after the floor and subfloor have been inspected. Ask for the price per square foot, the labour and material split, and whether trim, transitions and moisture preparation are included. Comparing quotes that list the same components makes the differences between contractors clear.
How long does hardwood floor installation take?
Timelines depend on room count, floor size, subfloor preparation and how quickly materials are delivered and acclimated. A single room often takes a few days of installation work, while a whole-home project can run considerably longer once preparation and finishing are included. Ask the installer for a schedule that separates site preparation, installation, sanding and finishing, and cure time, so you can plan around occupancy and disruption.
Can damaged hardwood floors be repaired instead of replaced?
Often they can. Individual damaged boards, water-stained areas and worn or scratched surfaces can usually be repaired or refinished when the wood is still structurally sound. Replacement becomes more likely when boards are cupped, rotted or badly warped, or when the damage covers most of the floor. A specialist can inspect the boards and subfloor and tell you whether repair will hold up or whether replacement is the better long-term choice.
What should I ask a hardwood floor installer before hiring?
Ask how long the installer has been working with hardwood specifically, who will personally oversee the job, and whether the quote covers subfloor preparation, moisture checks and finishing. Request a written estimate with the components itemized, a realistic timeline, and details on warranty coverage. Ask how dust is controlled during sanding and whether you can see examples of similar completed work in your area.
Ready to move forward? Request an estimate from North American Hardwood, and get a written quote from the owner who will be doing the work.